Learn how to properly melt crayons in the oven and create custom made crayons with this easy DIY.
To melt crayons in the oven place, break the crayon into pieces and place them in an oven-safe mold. Bake them in the oven at 200 degrees for 7-12 minutes or until fully melted. Use this low heat for a longer time to avoid the crayons to bubble and splashing.
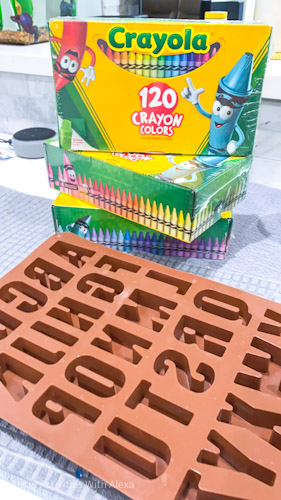
You can use broken leftover crayons or you can grab a new box to create unique color mixes.
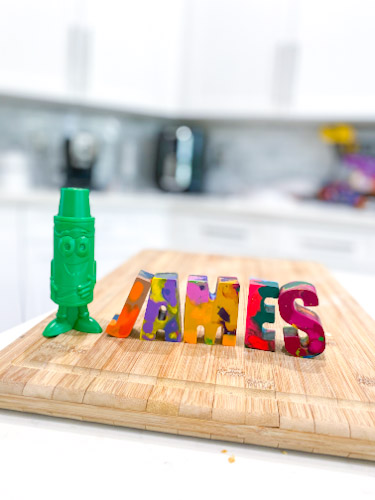
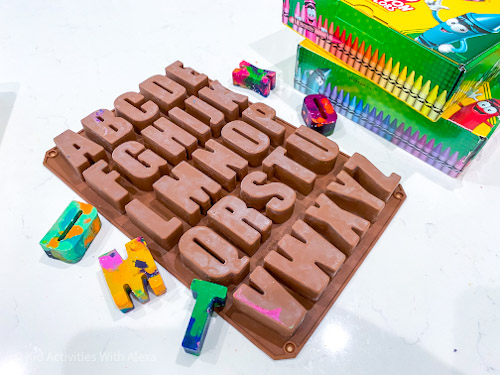
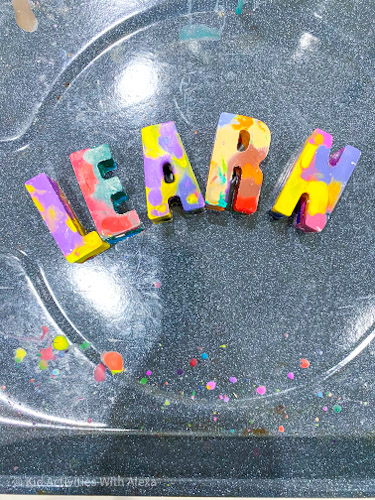
We used this melted crayon technique to create alphabet letters crayons and practice learning the ABCs. We sold a few sets creating custom made names that were used as gifts, and lastly, we made a care bid for a friend with a coloring book and some custom letter crayons.
No matter how you want to use them, here are the tips that we used that made us get perfect crayons time and time again.
Note: Only use safe oven molds. Some molds are meant for ice only, so he cautions when you select your mold that it says oven-safe in the label or packaging.
Print the easy guide or follow the photo step by step tutorial below.
melt crayons in the oven TO MAKE NEW CRAYONS
HOW TO MELT CRAYONS IN THE OVEN
Ingredients
- • Crayons, all the pieces we find unused at home.
- • Silicone molds.
Instructions
- Preheat oven to 275 degrees Fahrenheit and spray Silicon molds lightly with cooking spray.
- Peel off the wrapper from the crayon pieces and sort them into heaps of colors.
- Break the crayons into small pieces as needed to fit them into the Silicon mold.
- You can place the crayon pieces in the molds, by color, or mix them to make some multicolored ones.
- Put the pan in the oven for about 10 to 15 minutes until the crayons have completely melted.
- Remove from oven and allow to cool completely. You can put the molds in the freezer to cool faster.
- Flip the mold over to remove the fresh crayons, tapping the Silicon molds to remove them.
- Have fun coloring!
Supplies needed:
- Crayons
- Oven-Safe mold
- Microwave safe Bowl
- Microwave
- Oven
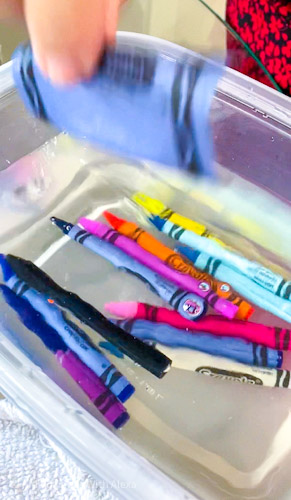
Step 1 – Remove paper
The first step to melt crayons in the oven is to remove the paper covering from the crayon. Doing this activity by hand can take a long time, but we learned a trick that sped up this part and we were 100 times faster!
Get a microwave-safe bowl and fill it ups halfway with some water. Microwave the water for about 1minute, where the water is warm but not hot.
Note: If the water is too hot it will melt the crayons, so get the water to be warm but not hot.
Let the crayon soak in the water a few minutes and the paper will start to come off.
Repeat until you remove the paper from all crayons.
As an alternative, you can buy crayons online already without the paper and save this step.
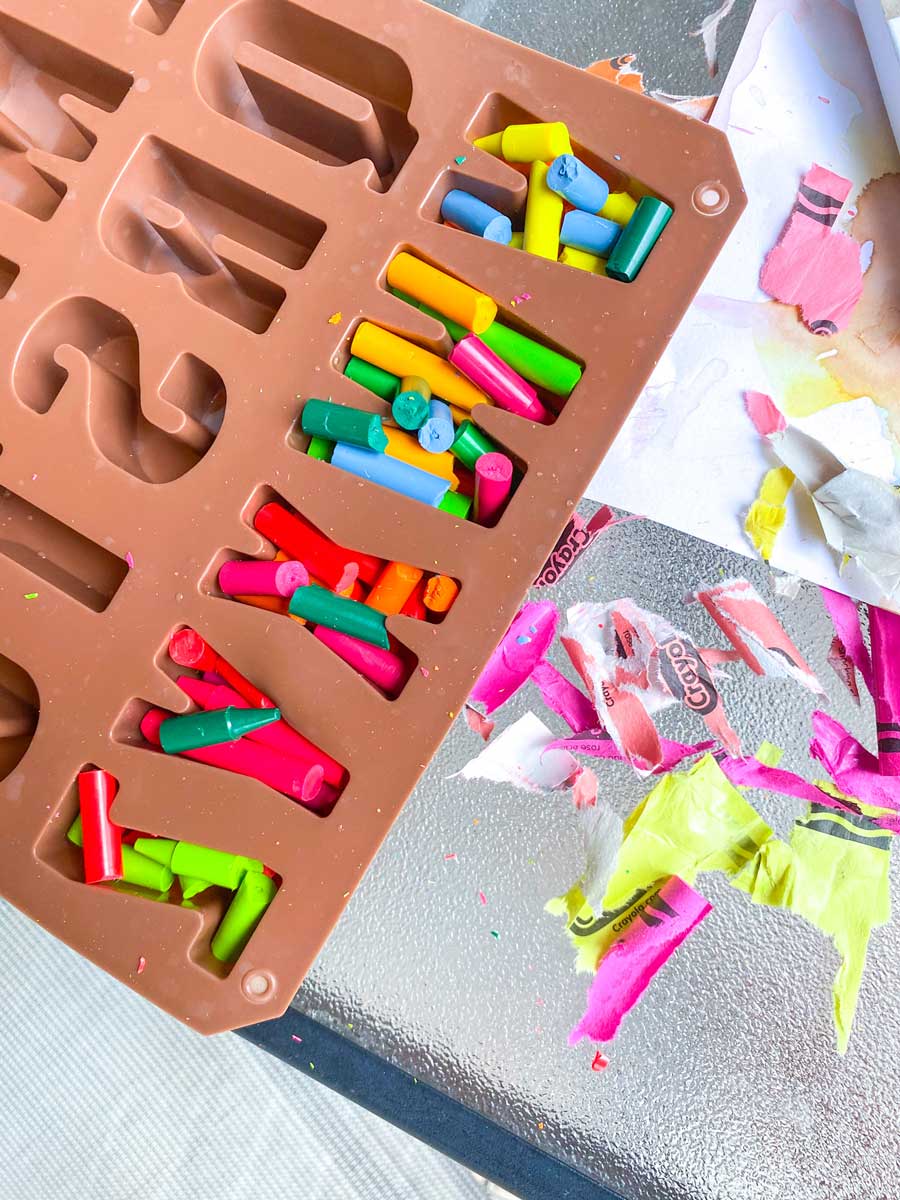
Step 2 – Break the crayons
Break out the crayons in pieces filling as many spaces as possible.

This part was the most fun for me! It was a release of energy, and I got to get super creative mixing the colors.
I was also trying to position the crayons a certain way to predict how the colors would show. I was wrong every time because the crayons melt uniquely so it, is hard to predict. But it was still a lot of fun!
StEp 3 – melt in oven
Turn on the oven to 200 degrees Fahrenheit. Place the mold in the center for about 7-12 minutes.
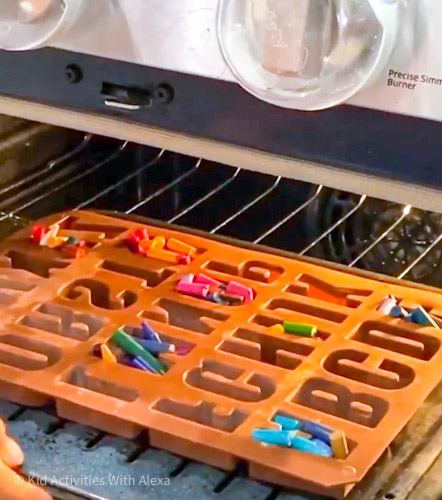
I used a tray to hold the mold because the silicone is very flimsy, and I was afraid once the crayons were melted, they would spill when I tried to get them out.
My mold was too deep, so halfway through the melting process, I had to take out the mold from the oven and add more crayons to top it off.
Step 4 – cool down
Once the crayons completely melt, you can take them out of the oven and let them cool down. You can leave them at room temperature and allow them to cool like that or, you can speed up the process and place them in the fridge.
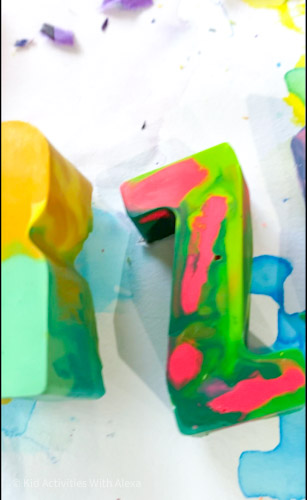
Step 5 – unmold
Once the crayons are completely cool down, unmold the crayon out of the silicone mold. If you are having a hard time or they are a bit stuck to the mold, you can place hot water directly into the silicone to melt the crayon a bit and loosen it up.
Mine came out ok straight from the refrigerator, but I did break one crayon by trying to pull it too hard. It was the letter U which has a thinner part at the bottom.
Step 6 – Ready to play!
Your crayons are ready to use!
Some of our crayons needed a little extra rubbing initially; this was to remove some of the wax and get to the color part.
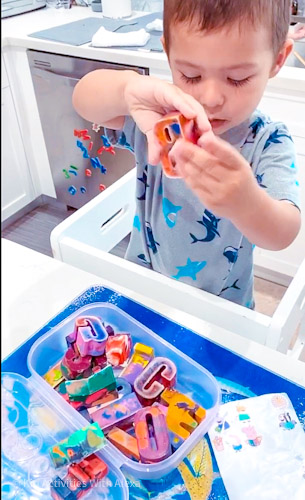
This crayon activity was an excellent activity for my toddler to start learning and identifying letters, so art projects and personalized name crayons as little gifts to his friends.
overall it was a great project
Get tons of creative ideas to do with your toddler at home! Become a PLAY MEMBER by signing up for the newsletter.
Play members get seasonal activity ideas right in their inbox, a special invitation to our Mommy & Me Virtual Circle time, and access to our free library with educational printables and activities to develop your child through sensory play and reach their developmental milestones while getting a head start when entering Pre-K.
Like it? Love it? Share it!