Are you looking for a non-sticky slime recipe? Then this is the best recipe Non-sticky slime recipe you can try!
My first experience with slime was a total disaster. It was messy, it was sticky, and I swore never to do it again.
But who am I kidding? I saw it more as a challenge than a defeat.
Having a toddler, I thought, “maybe slime is just not for this age group,” but could I find a slime that could be for this age group?
My friend Stephanie (Find her on Instagram @craftedbymeart ) is an art teacher who hosts art classes, and after seeing my frustration with slime, she shared her recipe with me.
She gave me the exact recipe she uses with her class full of toddlers.
She swore it is a non-sticky slime that I should try.
So I did. The result? I was impressed.
I have since perfected my slime making, and I can make you all types of slime now.
I am a slime addict!
I can make a simple two-ingredient slime, fluffy slime, rainbow puffy slime, to my latest creation: birthday ice cream slime.
No wonder why they have become so popular! It can get addicting to make them!
But none of those slime recipes compare to this one when you are playing with a toddler.
What makes this non sticky slime perfect for toddlers
I love the consistency of this slime. It is thicker than the slime made with shaving cream and liquid starch, which was my go-to toddler slime.
It is less stretchy – making it easier to handle and play with for toddlers. It creates less frustration as toddlers can grasp it and manage it better.
It lasts longer – When my toddler is done playing with the slime, I can store it in a deli container until next time. With the one I made using liquid starch, the slime gets sticky, and I have re-activated it next time I want to use it.
So what is this magical recipe? Let’s gather our ingredients and get started!
Supplies needed to make non sticky slime
- 2 cups of white glue
- 3 tsp of borax
- Food coloring
- 2 ½ of boiling water
- 2 bowls
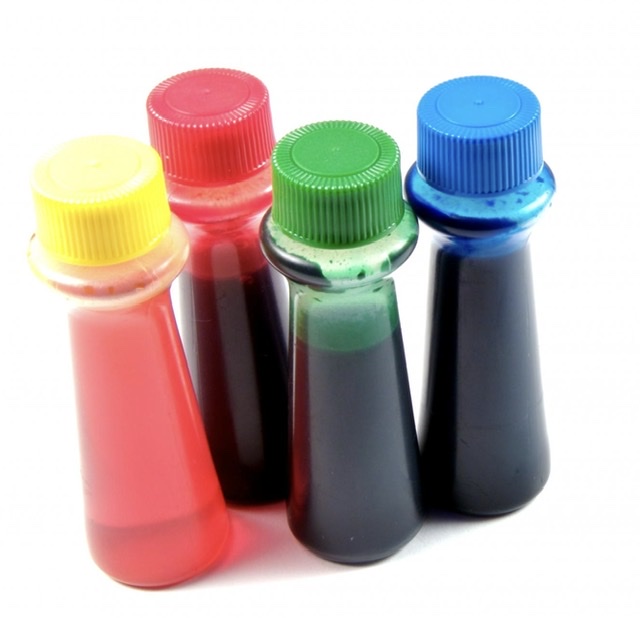
Food Coloring 
2 1/2 cup of Boiling water 
3 tsp Powder Borax 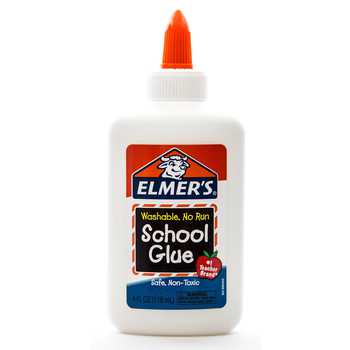
2 cups White school glue
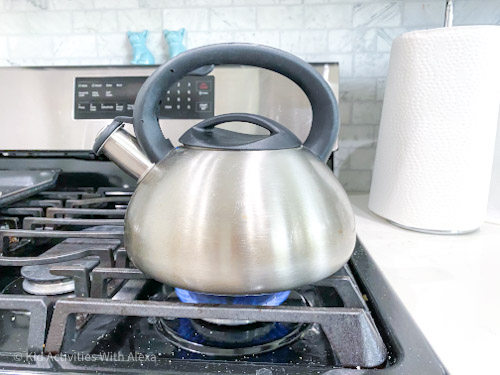
Step 1 – Boil water
Boil around 3 cups of water.
Step 2 – Prepare color mixture
Once the water is boiled, mix 2 cups of white school glue with 1 ½ cup of water. Add a few drops of the food coloring of your choice.
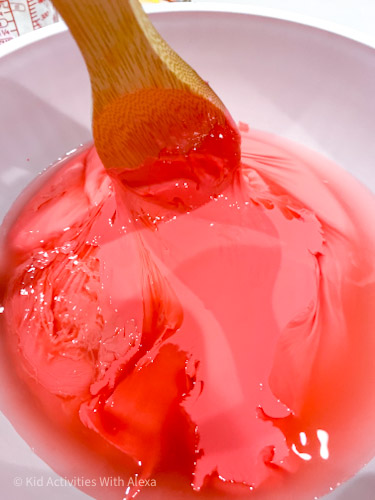
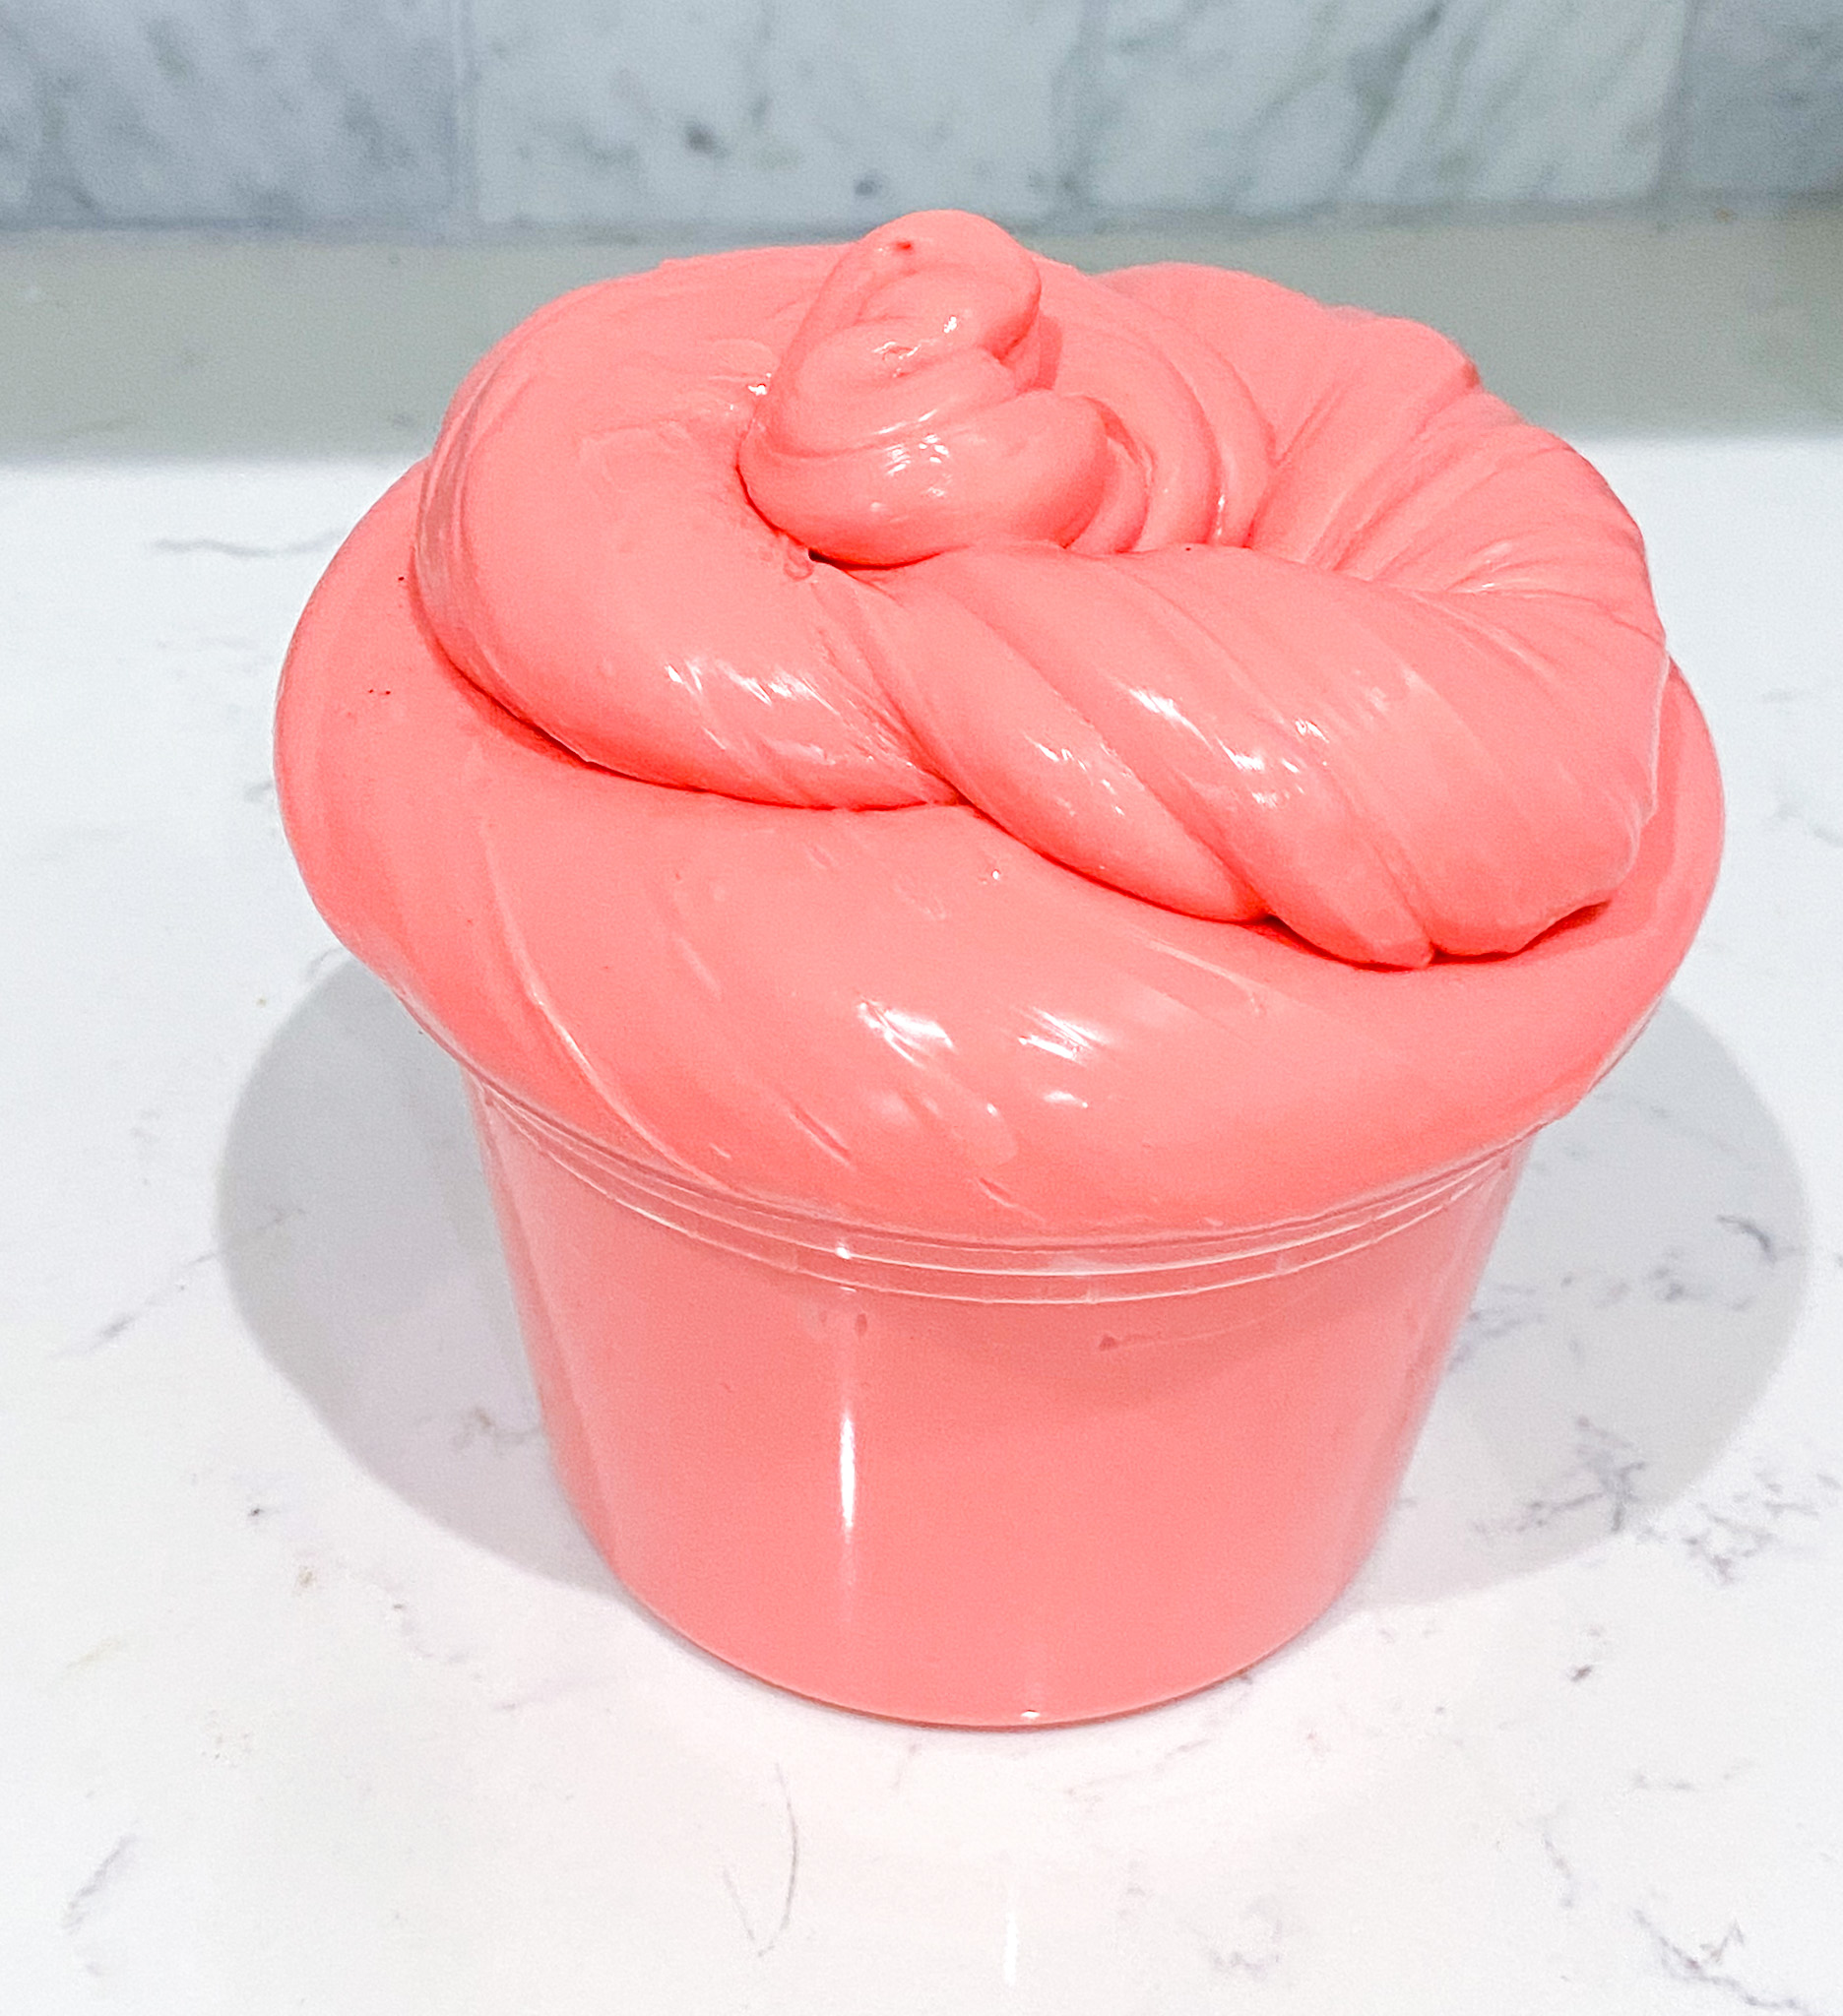
Because the glue is so white, the color will lighten up. We were trying to achieve red, but even after pouring half of our food coloring, we got pink slime.
Mix with a spatula to combine both the glue and water mixture.
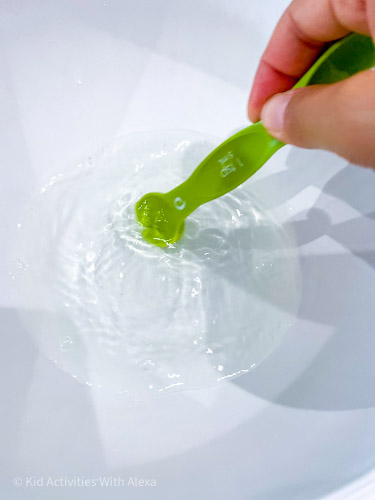
Step 3 – Prepare activator
On a separate bowl, add three teaspoons of borax and combine with 1 cup of boiling water.
Mix well until the borax is dissolved.
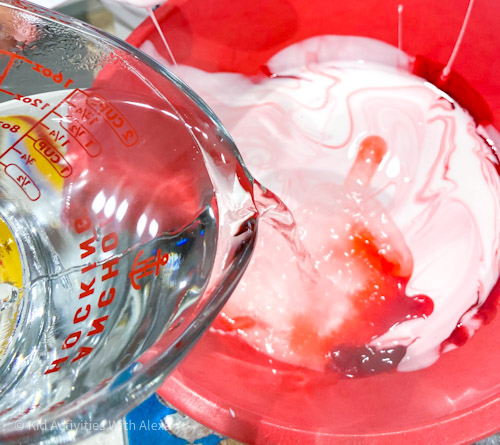
Step 4 – Combine mixtures
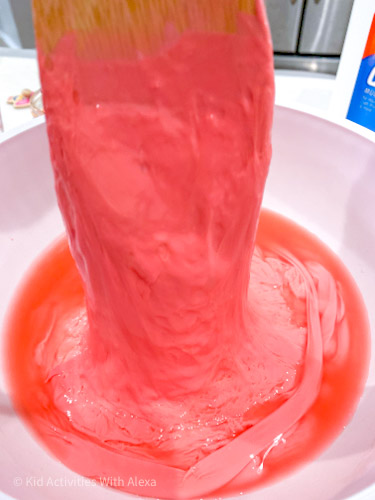
Add the color mixture into the activator (borax) mixture.
Stir with a spoon slowly to get the glue to absorb the activator.
Note: not sure why, but if I don’t do it like this (color into activator), the slime doesn’t come out the same. Make sure you use a big bowl to mix the borax as that will be your main bowl to work the slime out.

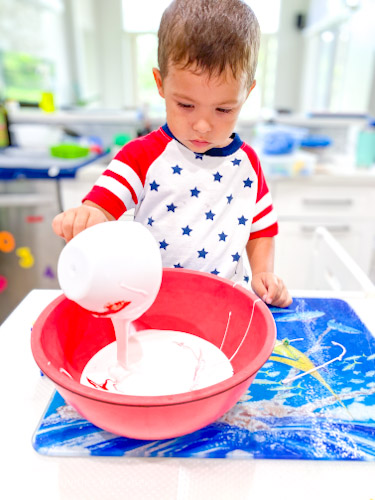
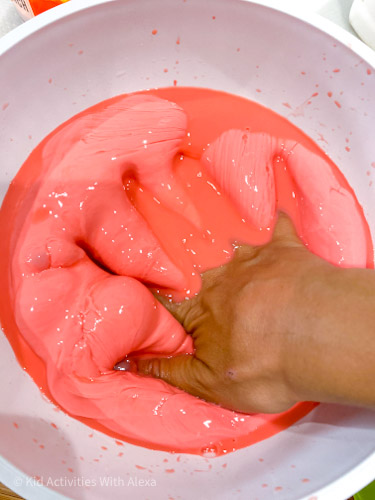
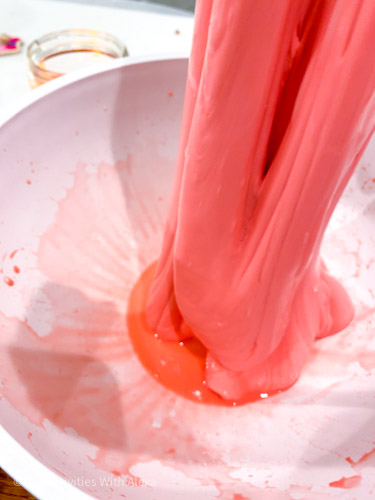
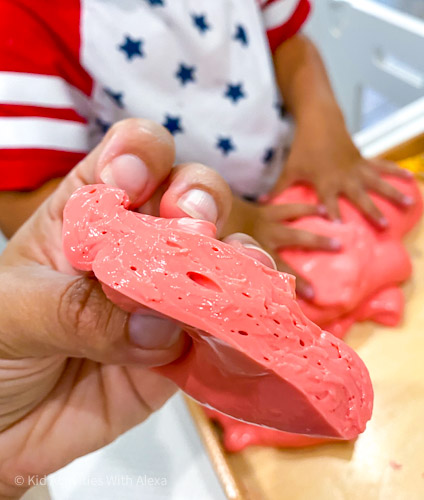
Once the water has cool down a bit, start mixing the glue with your hand. I like to squeeze and stretch to allow the glue to spread apart and absorb any liquid.
Continue this process of squeezing the glue with the palm of your hand. Continue stretching the slime until all the liquid has been absorbed.

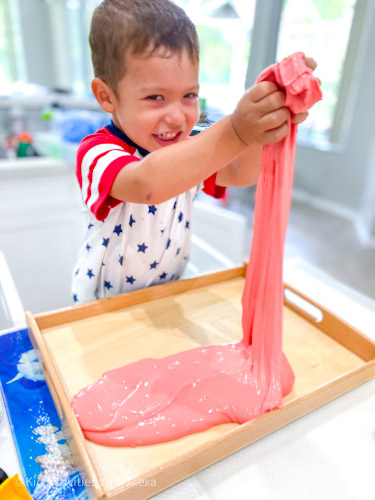
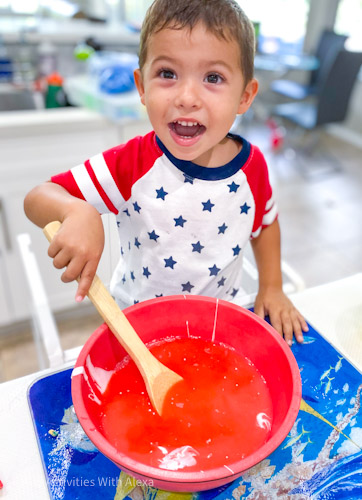
Step 5 – Play time!
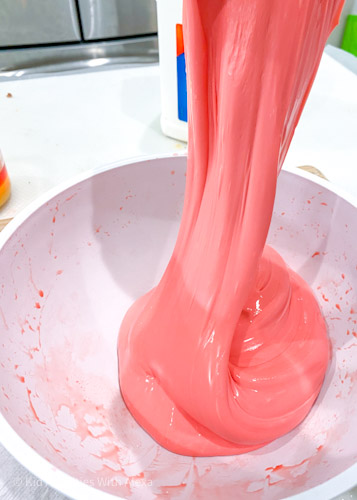
Now that all the liquid has been absorbed, it is time to play!
Always supervise playtime with slime. A toddler can do more in one unsupervised minute that a lot of people in a lifetime!
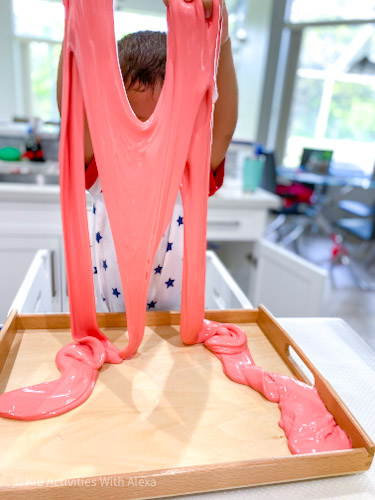
Even though this slime only stretches slowly and if stretch too quickly it will cut out quickly.
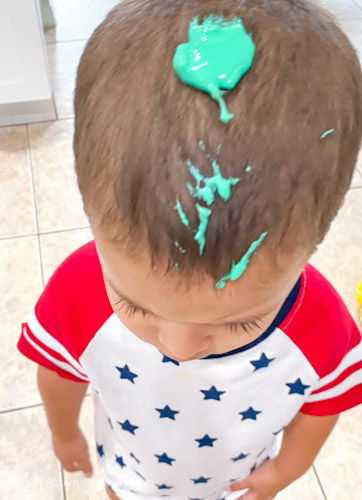
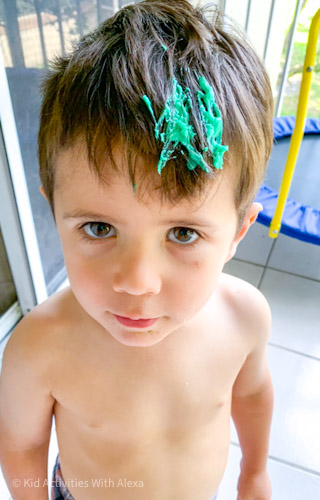
This slime is based on glue, so it will still stick to clothing or hair! So keep an eye to make sure it is used properly.
Our rule in the house is we always play using a tray and “slime stays in the tray”. This prevents them wanting to create bad habits of walking around with the slime to places they shouldn’t and falling.
But toddlers being toddlers, our first try playing with slime in a second both of our kid’s (in separate houses and different days) decided to see what would happened if you put slime in the hair!
&url=https://kidactivitieswithalexa.com/en/non-sticky-slime-recipe/&media=https://kidactivitieswithalexa.com/wp-content/uploads/2021/09/best-sensory-recipes-book-996x1024.png)
Luckily, shampoo and warm water got the slime off the hair and they never did it again.
Now, they both enjoy playing with slime safely and they keep it on the tray.
Final thoughts
Slime is a fun sensory activity for kids of all ages. This non stick slime recipe is my favorite and the safest in term of mess to use with toddlers.
It saves well so you can use it over and over again and it’s stretching as is just right for little hands.
Play together, teach them how to play safely by keeping the slime on the tray, and have fun!
Save it! Print it! Make it!
Non Sticky Slime Recipe
Ingredients
- 2 cups of white glue
- 3 tsp of borax
- Food coloring
- 2 ½ of boiling water
- 2 bowls
Instructions
- Boil around 3 cups of water.
- Once the water is boiled, mix 2 cups of white school glue with 1 ½ cup of water. Add a few drops of the food coloring of your choice.
- Mix with a spatula to combine both the glue and water mixture.
- On a separate bowl, add three teaspoons of borax and combine with 1 cup of boiling water.
- Mix well until the borax is dissolved.
- Add the color mixture into the activator (borax) mixture.
- Stir with a spoon slowly to get the glue to absorb the activator.
- Once the water has cool down a bit, start mixing the glue with your hand. I like to squeeze and stretch to allow the glue to spread apart and absorb any liquid.
- Continue this process of squeezing the glue with the palm of your hand. Continue stretching the slime until all the liquid has been absorbed.
- Now that all the liquid has been absorbed, it is time to play!