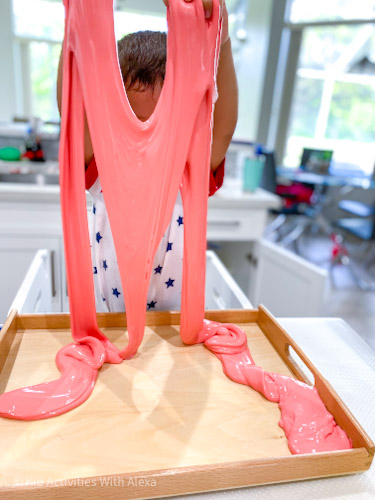
If you’ve ever peeled slime off the carpet, you know the struggle.
I tested a lot of slime recipes before landing on this one — and the difference is real. This non-sticky slime is smooth, stretchy, and actually manageable for little hands. No gluey fingers, no furniture casualties, no regrets.
It’s the recipe I use in my sensory classes, and the one parents keep coming back to.
What You’ll Need
Simple ingredients, nothing fancy. The borax is what makes the texture work — it activates the glue and creates that smooth, non-sticky stretch that regular slime recipes miss.
How to Make Non-Sticky Slime
Step 1 — Make your two mixtures
In one bowl, mix 2 cups of white school glue with 1½ cups of boiling water.
Stir until fully combined.
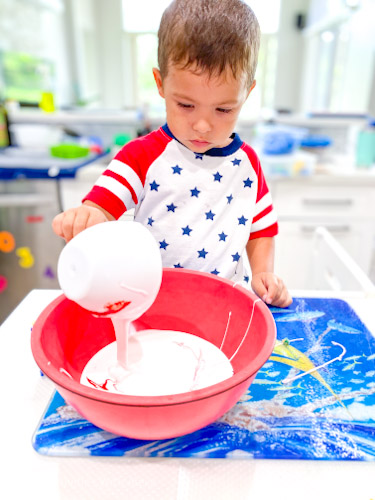
In a separate bowl, dissolve 2 teaspoons of borax in 1 cup of boiling water. Add food coloring to the water if using.
Step 2 — Combine and watch the slime form
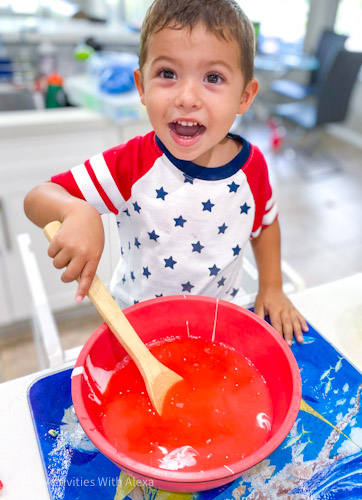
Slowly pour the glue mixture into the borax bowl. Stir gently with a spoon or spatula. You’ll see the slime start to pull together almost immediately as the glue reacts with the borax.
Step 3 — Knead until smooth
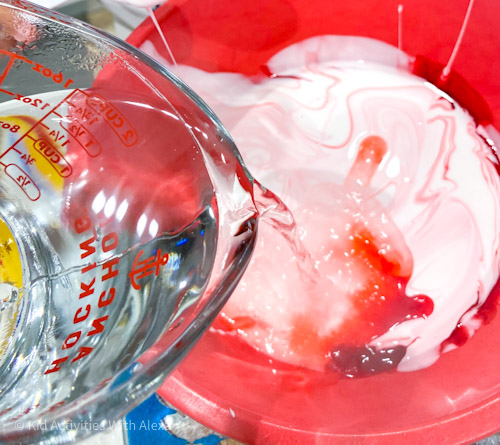
Once cool enough to touch, pull the slime from the liquid and knead it with your hands. Squeeze, fold, and stretch it until it becomes smooth, stretchy, and non-sticky. This usually takes 2–3 minutes — don’t rush it.
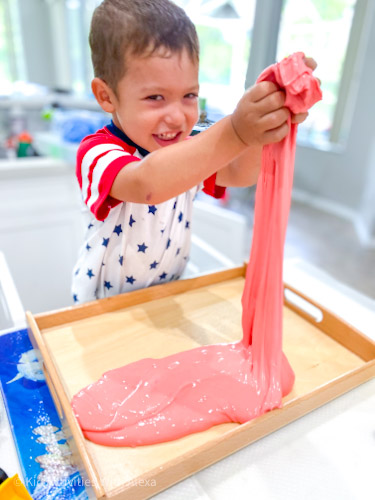
Save it! Non-Sticky Slime Recipe

slime recipe with borax
Best slime do those who don't like the think super stretchy paper think slime. Great for toddlers and kids. Easier to pick up!
Ingredients
- 2 cups of white school glue
- 2 teaspoons of borax
- Food coloring (red, pink, or any Valentine’s color you love)
- 2 ½ cups of boiling water
- 2 mixing bowls
Instructions
- Step 1: Prepare Your Glue Mixture
- Start by boiling around 3 cups of water. You’ll need this for the recipe.
- In one bowl, mix 2 cups of white school glue with 1 ½ cups of boiling water.
- Add a few drops of food coloring to your glue mixture. Red or pink works perfectly for a Valentine’s theme. Stir with a spatula to combine thoroughly.
- Step 2: Create the Activator Solution
- Combine three teaspoons of borax in a separate bowl with 1 cup of boiling water.
- Stir the mixture well until the borax is fully dissolved.
- Step 3: Combine the Mixtures
- Slowly pour the glue mixture into the borax activator mixture.
- Stir the combined mixture gently with a spoon. You’ll notice the slime forming as the glue absorbs the activator.
- Step 4: Get Hands-On
- Once the water has cooled down slightly, mix the slime with your hands.
- Use your palms to squeeze, stretch, and knead the slime. This helps it absorb any excess liquid.
- Continue stretching and kneading until you achieve the perfect slime consistency.
- Step 5: Time to Play!
- Once all the liquid has been absorbed, your Valentine’s Day slime is ready to enjoy! Add glitter, heart-shaped confetti, or tiny sequins for extra festive flair. Store it in an airtight container when not in use to keep it fresh.
Notes
if its too thick add hand lotion to soften it.
Tips for the Best Results
Dissolve the borax fully. If it doesn’t dissolve completely in the boiling water, you’ll get an uneven texture. Stir until it’s completely clear.
Add the glue mixture slowly. Pour it into the borax solution, not the other way around. This gives you more control over the texture as it forms.
Knead longer than you think. The slime will look wet and loose at first — keep kneading. It absorbs excess liquid as you work it, becoming smooth and stretchy within a few minutes.
Too stiff? Knead in a few drops of warm water.
Too sticky? You likely need a touch more borax solution — add it slowly.
Is This Safe for Toddlers?
This recipe is non-toxic but not taste-safe. It’s best for children who are past the mouthing stage, around age 2 and up, with close adult supervision. Always wash hands after play.
If your child still puts everything in their mouth, try a taste-safe sensory recipe instead.
How to Store It
Keep slime in an airtight container at room temperature. It lasts 1–2 weeks with proper storage. If it starts to smell or loses its stretch, make a fresh batch — it only takes a few minutes.
FAQs
Why is my slime still sticky?
The borax solution needs to be fully dissolved and added slowly. If it’s still sticky after kneading, add a small amount of borax solution and keep working it with your hands.
Can I use contact solution instead of borax?
This recipe is specifically developed for borax — the texture and stretch are different with contact solution. For best results, stick with borax.
What age is this for?
Age 2 and up with supervision. Younger toddlers who still mouth objects should use a taste-safe alternative.
How long does it last?
1–2 weeks in an airtight container. Knead it a bit before each play session to restore the texture.
More Sensory Play Ideas
How to Make Kinetic Sand at Home
Sensory Play Ideas for Toddlers
More Slime Recipes to Try
Easy Slime Recipes: 6 Toddler-Safe Ways to Make Slime at home
Diy honey slime recipe using raw honey
Zebra Slime Recipe |a Zoo Theme Sensory Play
The Best Valentine’s Day Slime Recipe for kids
Edible-Safe Chia Slime: A Texture Exploration Activity for Babies & Toddlers
Slime Troubleshooting: How to Fix Sticky, Stiff, or Runny Slime