Sensory bottles was a new concept for me, but when I learned how to make them I fell in love with the process. I did workshops and Instagram lives to share how to make them but I kept getting the same question.
What do I do with a sensory bottle once I’m done with it? How can my baby/toddler play with it?
I’m going to show you the simplest color sensory bottles you can make. But if you want to make you can read all about how to make the perfect sensory bottle with glitter, bubbles and so much more! Ultimate Guide to Make the Perfect Sensory Bottle
Sensory bottles are great for tummy time, learning colors, as a learning tool to regulate emotions during the toddler years, and more… I even have them on my desk and just love to stare at them and shake them around.
How to learn with color sensory bottles
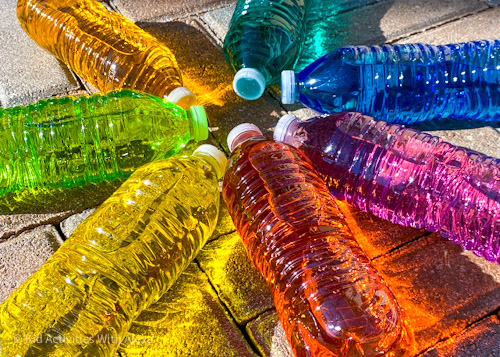
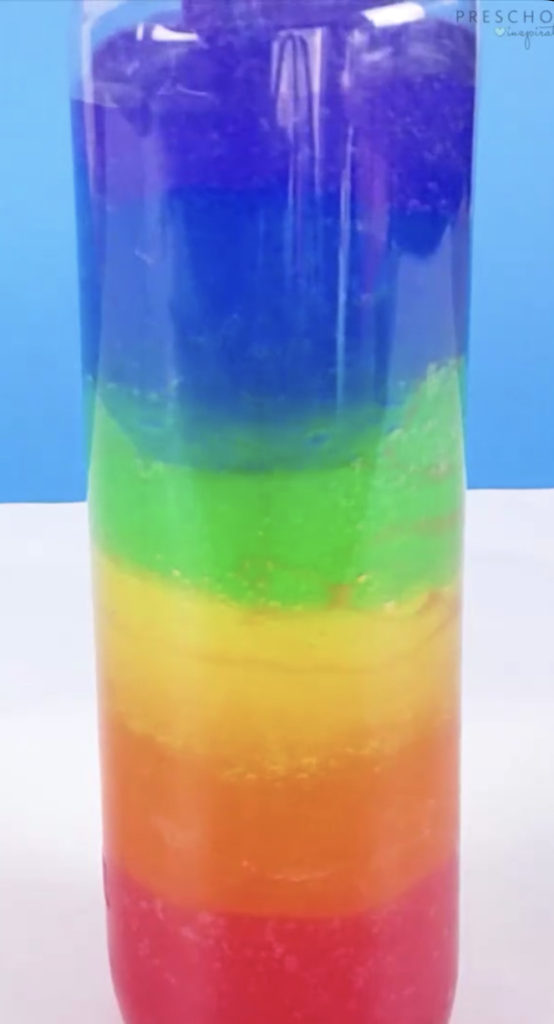
These color sensory bottles are a great opportunity to celebrate Spring, talk about the rainbow and my favorite is to explore the colorful shadows these bottles reflect. It’s the perfect way to practice color recognition.
How do you make colored sensory bottles?
Rainbow Colored Sensory Bottles Recipe

Ingredients
- 6 Water bottles (You can use plastic Voss – commonly use for sensory bottle making or like me just regular water bottles)
- Food Coloring (any will do)
- Super Glue (optional)
Instructions
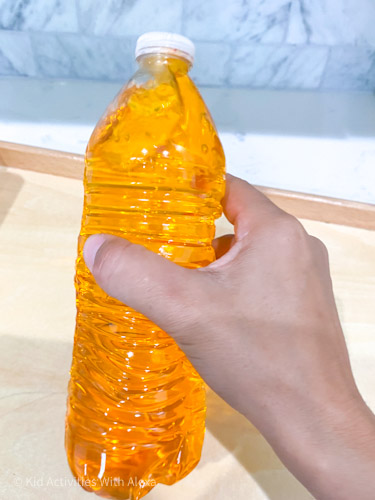
- Open the water bottle and add a few drops of food coloring
- Close the bottle and shake. The more food coloring the stronger and darker color you will get.
- Repeat with the rest of the bottles until you create a rainbow. (Red, orange, yellow, green, blue and purple)
To make these simple color bottles all you need is:
- 6 Water bottles (You can use plastic Voss – commonly use for sensory bottle making or like me just regular water bottles)
- Food Coloring (any will do)
- Super Glue (optional)
Directions to make colored sensory bottles
Open the water bottle and add a few drops of food coloring
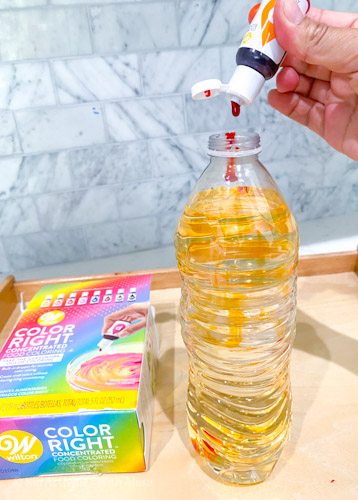
Close the bottle and shake. The more food coloring the stronger and darker color you will get.
Repeat with the rest of the bottles until you create a rainbow. (Red, orange, yellow, green, blue and purple)
How to play
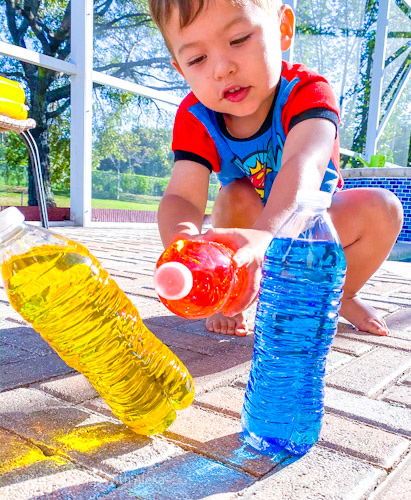
These simple water bottles make the coolest color shadows when placed by a window or outside. Give that to a baby or a toddler and they are mesmerized with the effect.
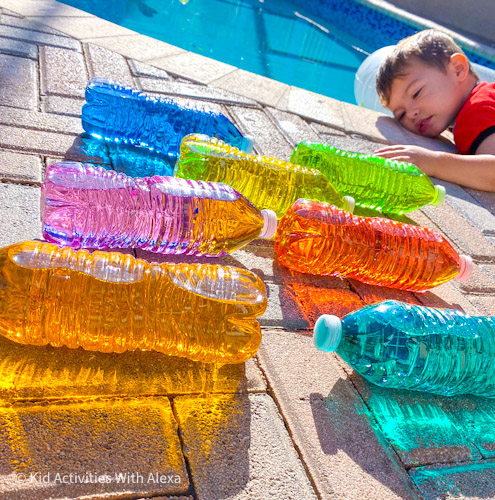
My son was among the toddlers that spend hours manipulating, investigating and analysis of such effect. He moved the bottles form one place to another to check where the color shadow went.
We took this idea To Instagram and a few of our friends recreated them right away. Everyone has the supplies ready so it was an easy activity to do. Immediately I got feedback how the kids loved them! The shakes them, they transferred from place to place, dunk them in water, threw them across the room (oh boy! I remember that stage where they throw everything)
Because the water is so clear and al you can see is color it is easy to use it as a learning experience to learn and identify colors. The shadow is the color, the bottle is the color, the learning is all about the color. And this is why I love this simple activity to learn colors.
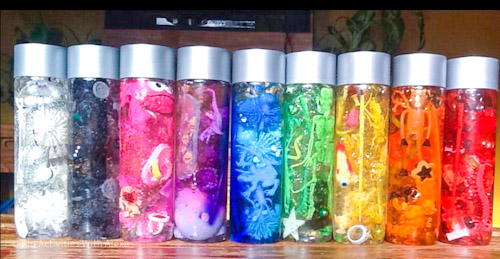
Variations of color sensory Bottles
There are other ways you can spice up your bottle. You can take one color and do many variations of the bottle. Here are a few ideas to get you inspired.
Add glitter paint to make it sparkle

Add confetti to create a theme
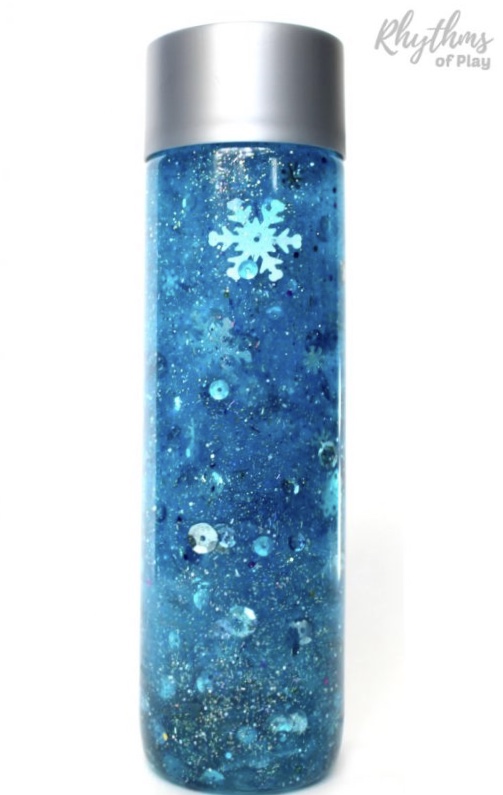
We created a full tutorial to create the perfect sensory bottle but never thought of making a theme one buying confetti that is unique to a theme. Looks pretty cool! We did do a melted snowman one over December as part of our 25 days of Christmas activities for babies and toddlers
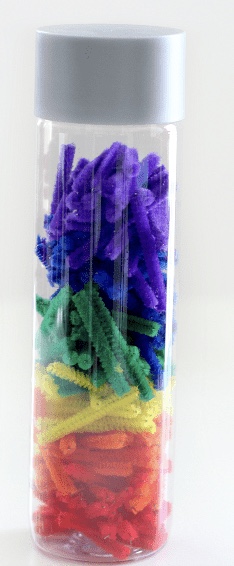
Use dry ingredients
Although these won’t glow as pretty with the sun they will make a fun sound if you leave room in the top for the rice to move around.

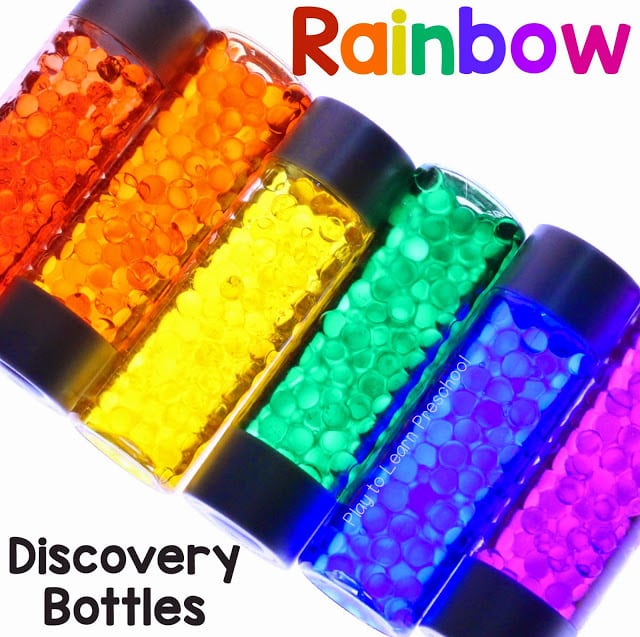
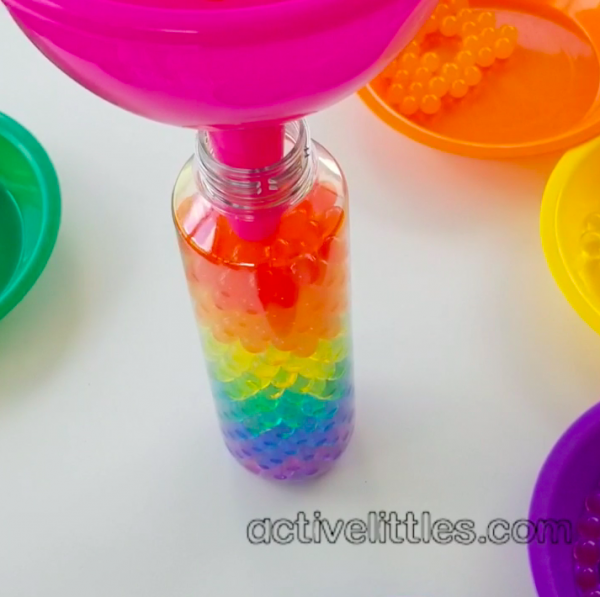
Use water beads
You can separate water beads by color and create one bottle per color to create a rainbow. These would look cool against a light table or to use a flashlight.
Use beads In one Color

Use color items
Instead of coloring the water you can collect small items in each color. When you put them together they make a pretty rainbow.
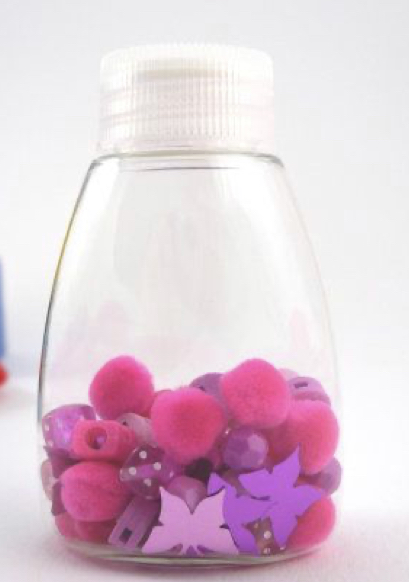
Use pom poms
Pom poms are a great art supply to always have in hand! This can be a great fine motor activity as your toddler can help you put all the pom-poms inside the bottle. It takes a great deal of hand control to put a Pom-pom inside a tiny hole and a great deal of concentration. So one bottle per color to focus on learning and inspect each color.
t
The below photo is a mix of Pom poms and beads But I bet it would look so cool with just pom poms
Make a rainbow
At the end of your color lesson you can make a rainbow bottle. All the colors of the rainbow learned into one bottle.
Final thoughts
Doing color lesson plans can be a lot of fun! Sensory bottles are a great idea to use to learn colors.
Want a full week lesson plan? Check out our full lesson plan for the color red!