Making winter crafts for kids or toddlers is a great activity to do as a family, give out as gifts, or simply creating them and saving them in our memory box.
Get the best (and super easy) ideas shares on Pinterest to gather for this winter craft for kids list. Even the non-crafty mom can make it!
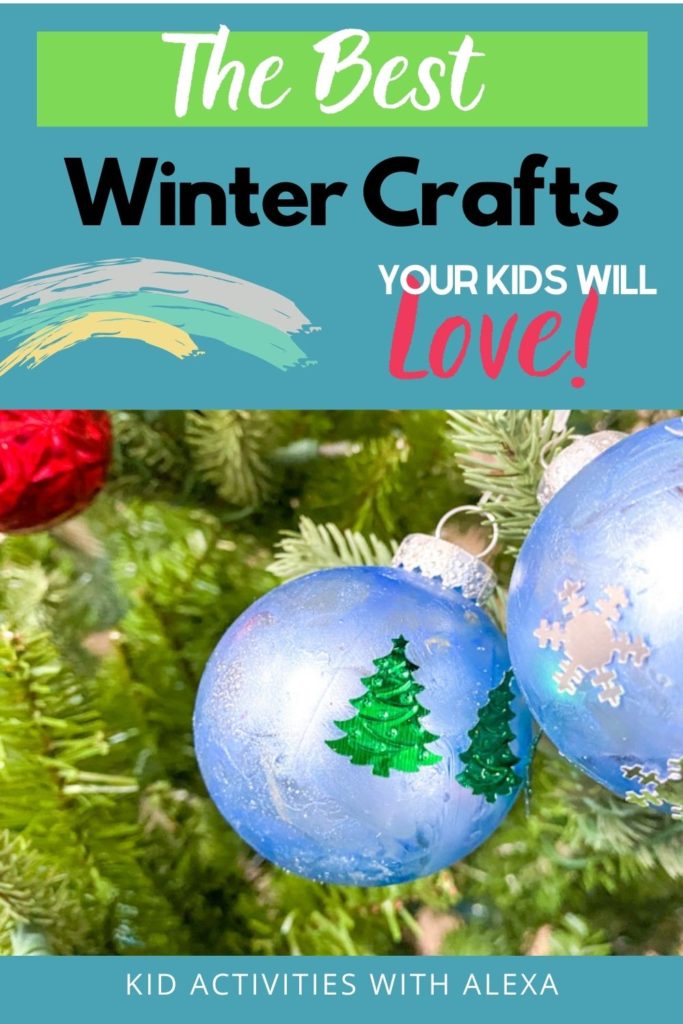
Winter Crafts for Kids: Ornaments
DIY Painted Ornaments
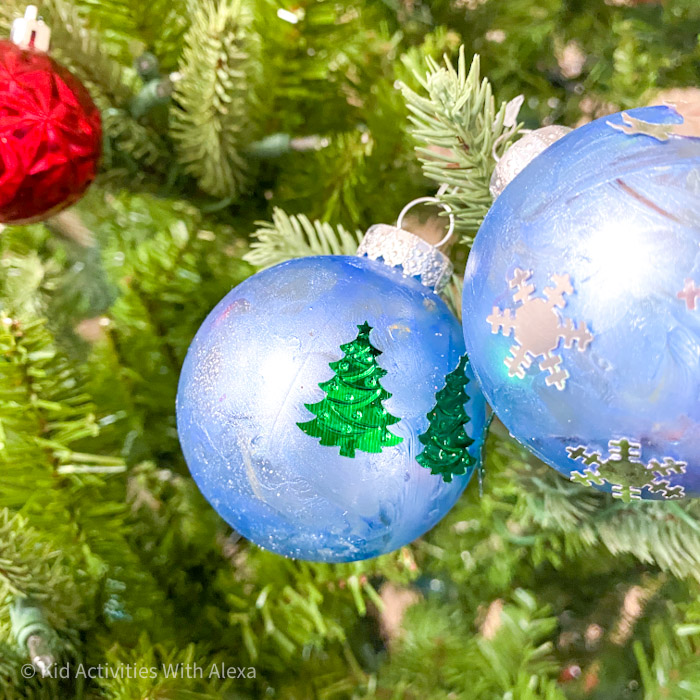
Head over to the dollar store or your local craft store and purchase the clear ornaments. Fill them up with fake snow, pom poms, or even glitter, and you have yourself a DIY Ornament!
We tried to paint my toddler’s hand-print over it, but it wasn’t easy for him to put his palm and let it go without sliding his fingers all over. After 4 failed attempts, we just painted the ornament and decorated it by gluing some Christmas confetti.
I think the handprint idea is good for either babies where you can control the hand better or older kids that can follow directions into pressing the handprint and then letting it go.
Christmas Tree Pom Pom Ornament
I love simple designs that can be recreated with little prep work. Using a triangle cut out from cardboard, add green pompoms over it. I love the use of two different shades of greens on this tree. Create a star using cardboard and paint it yellow. When Everything is dried, you can tape or glue a thin rope to use as the hanging loop.
Pasta Noodle Ornament
Using the same cardboard triangle template you used for the above craft, you can create this noodle ornament. Instead of gluing pompoms, you can paint noddles and different shaped pasta using metallic acrylic paints. Glue them in different patterns and add a glittering start to finish it off.
Photo noodle Ornament
Save some noodles from the above craft and create a photo ornament. Tho create this noodle wreath, all you need is a cardboard circle colored in green, some noodles colored in green, a gold sequence, and a bow tie noodle colored in red.
DIY CARDS TO MAKE AS WINTER CRAFTS FOR KIDS
Washi Tape Christmas Tree card
Cut washi-tape in different lengths, starting from the largest at the bottom and building your tree all the way towards the top to create a Christmas Tree effect.
Watercolor Snowflake Card
This one is a little science experiment turned holiday card! First, grab a piece of card stock and a white crayon. Draw snowflakes overlapping two crosses over each other. Then use dark watercolors like a dark blue and cover the card stock paper. The crayon resists the watercolor and will appear as you color.
To give it the last snow effect, sprinkle some table-salt over the wet watercolor. This will make the water separate and create a cool effect. When the watercolor dries, shake the card stock gently to release the salt.
Watercolor Snowflake Salt Cards
Another cool salt activity is to use school glue to create a design and add salt over it. When that dries, you can color the salt directly with watercolor (or a mixture of food color and water) and let it dry. The salt will change color, and you end up with a 3D effect art piece.
Paper Crafts: Winter Craft for kids
Sticky Paper Christmas Tree Card
This activity is one of my kid’s favorite! We have done it with real flowers for a mother’s day activity, which will turn out so pretty! You can use cut up tissue paper in different colors to create a multi-light effect.
Create your design in green construction paper and stick the sticky-paper over it. Then place it on the table sticky-side up and secure the construction paper to the table to prevent the paper from moving around. Then, invite the kids to decorate their own tree.
Handprint Art Mittens
Don’t put away the construction paper yet! Cut out a pair of mittens and some snow boots and create hand and footprints over them for a quick craft. Embellish them with cotton balls at the top of the boots or glitter glue around it. Don’t forget to put the Kid’s date and name!
Santa Hat Paper Craft
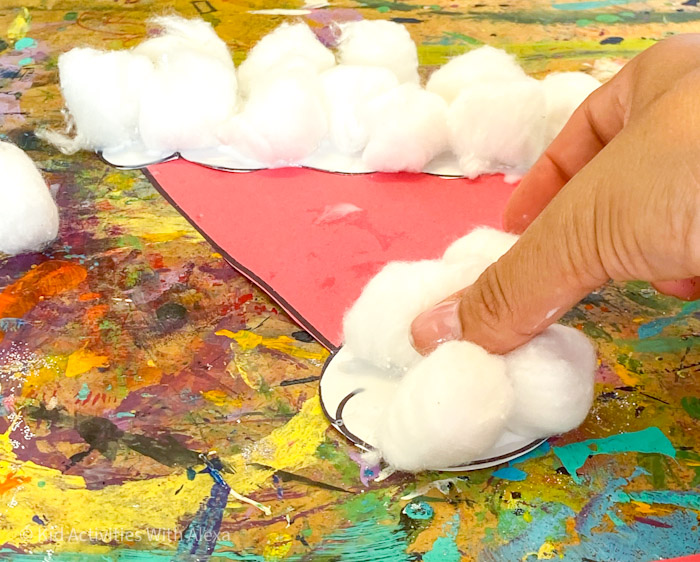
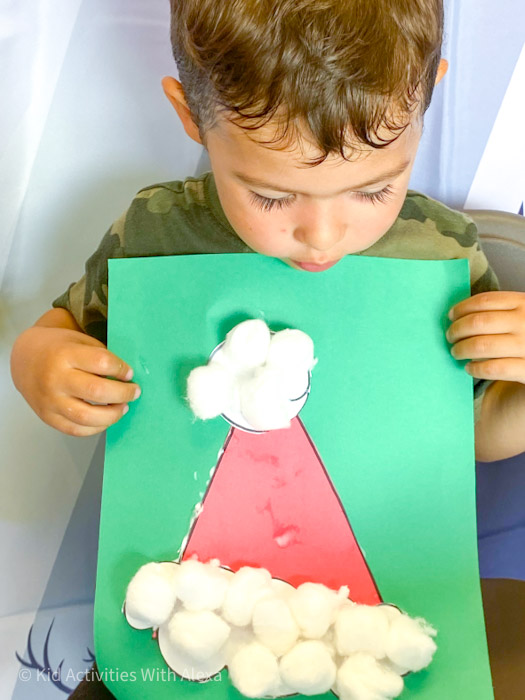
Kids love to play with glue! This craft was done on the fly with my 3-year-old. I cut out a circle, a triangle, and a rectangle. Glue some cotton balls to the triangle and the circle and attach to the red triangle. Then glue everything into the green construction paper to create a craft.
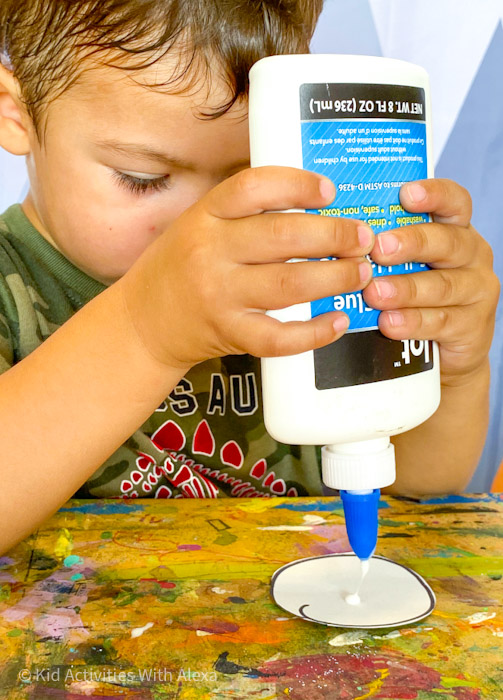
Melted snowman Square Craft
I love activities where you can incorporate some learning like this activity. You may see a melted snowman, but I see a shape recognition activity – all about squares. How cool is that! Learn shapes and create a snowman craft with this easy activity that even toddlers can do!
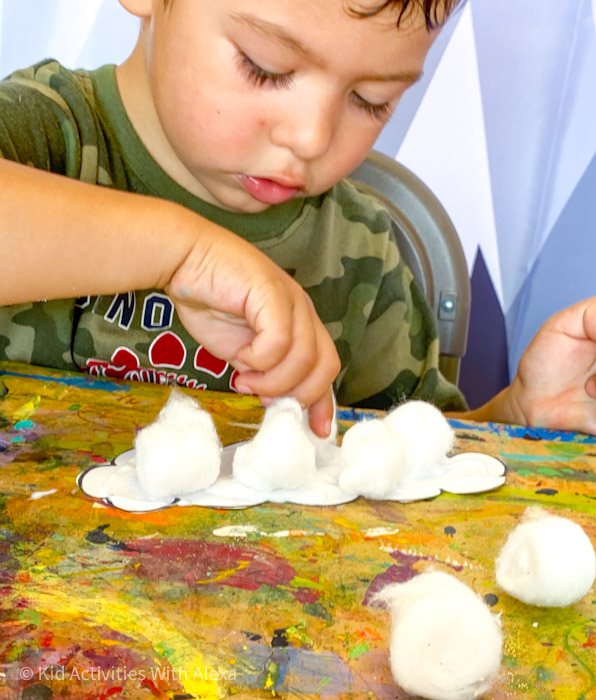
Melted Snowman Puffy Paint Craft
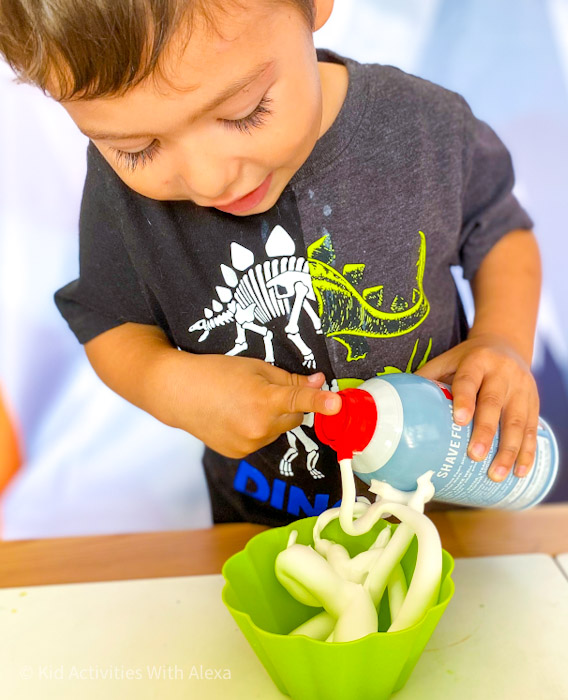
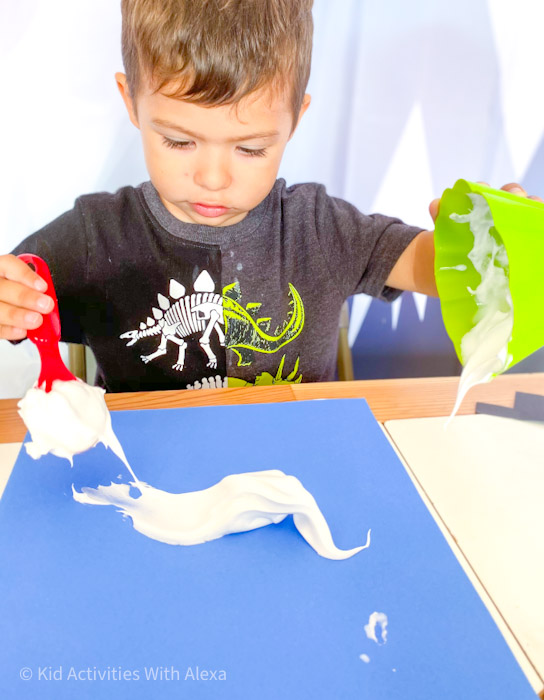

This is one of my favorite crafts! The first time I did it was when I volunteered at my oldest school Kindergarten class. All 18 kids made their own melted snowman, and they all turned out perfect! There is no fail! Use our puffy paint recipe, and do not add any paint to it! It’s the best one out there, and you will have so much time!
Note: Depending on how thick you do paint it will take longer to dry. just give it time.
Recommended: Puffy Paint Recipe
Crunched paper Christmas Tree
Cut out a Christmas tree from construction paper and let the kids scrunch out some colored tissue paper. Then glue it over the tree to make colorful ornaments. They can work on patterns or glue them randomly.
This is a great fine motor skill activity to strengthen those finger muscles. All great practice that later on will help when learning to write.
Toilet Paper Christmas Tree Craft
Another learning activity about circles! But the time, the goal is to create a tree-shaped. Take some toilet paper tubes and some green paint and stamp away!
Want more ideas on ways to paint with toilet tubes? Check out our 5 ideas to paint with toilet tubes here
Hand paper Wreath
One thing that my son absolutely loves is to get his hand traced over and over again on a paper. This Christmas wreath would be the perfect activity for this! We need
Different color green papers. I think the glitter paper really lets this wreath glow! You can find this glitter paper over on Michael’s in the scrapbook section. They have a large variety of papers and designs.
To finish off your design all you need is some red pom poms glued randomly.
Paper Christmas Tree Card
This Christmas tree card doubles up as a scissor practice activity.
Fold a colorful 8x11inch cardstock in half to create a colorful backdrop. Cut three triangles in different sizes using green construction paper. Cut up the end of the triangle creating a skirt effect. Glue them overlapping each other (from largest at the bottom to the smallest at the top) over a white 5x7inch white cardstock. Finish it off with a glitter star.
Reindeer Paper Crown
There is nothing cutter than a toddler in a crafty headband! Last year, I did a circle time activity with our local moms at the library. We created this cute reindeer headband by cutting up two rectangles and taping them together to create the base. Then in a lighter brown, I traced two antlers and cut them up.
Tip: Tape a pipe cleaner n the back of each antler to stay up straight.
Pom Pom Christmas Tree
This is one of my favorite trees from this whole list! I can see myself actually displaying this in our living room for many years to come. If you head over to the craft shop, they sell in the floral department cones shapes styrofoam and/or cardboard of different sizes.
Using a strong glue, I suggest hot glue or cold glue if you are working with kids and glue the pom-poms around starting at the base’s bottom. You can do a mix of green shades or different colors to match your decor.
PAPER PLATE WINTER CRAFTS FOR KIDS
Paper Plate Christmas Tree
I have been obsessed with paper plate crafts! There are so many options you can do, and you can really get creative. They are also super affordable. These trees are simple to do, and I can’t believe how cute they are.
Paint over the plate in your favorite color. When it is dried, cut out a triangle at the center of the plate. Flip it and using double sticky tape, glue green paper stripes in different shades of green and overlapping each other. Flip it and flue a colorful paper star and a brown triangle to mimic the tree stem.
Small Paper Plate Ornament
Want a super simple paper plate craft? Using a small paper plate with no design or shiny coating over it, tape over circle tissue papers. Finish it off by cutting a rectangle in shiny paper and adding a matching ribbon in the back to be hung on the tree.
Variation: You don’t have to glue the tissue paper. You can also place the tissue paper dots over it and spray it with water. Let it dry, and then remove the tissue paper. This will transfer the color into the plate, creating a watercolor effect.
Paper Plate Snowman Mask
This is the coolest snowman craft that I found using a paper plate. I can already come up with 100 ideas on using this mask for circle time. Even if you don’t do circle time, you can sing wearing it; you can do some pretend play and take some awesome photos.
The craft focuses on putting together the hat. When you have the hat assembled, glue it to the paper plate. Finish it off with a jumbo craft stick at the bottom, so they have a nice handle to hold on to.
Paper Plate Christmas Tree
Oh! Christmas tree, o Christmas tree! How simple is this craft? Paint the paper plate green and let it dry. Then assemble your cone by cutting out a slit from the edge all the way to the center. Then roll it and staple it or tape it to create a cone.
Finish it off by gluing colored pom poms to create the colorful ornaments. Oh! and don’t forget a yellow pom-pom at the top to represent the star (or make a cardboard star and glue it at the top)
Paper Plate Christmas Tree
Want another paper plate Christmas tree but not 3D? Then this one is super cute! I always say to color the paper plate first and then let it dry and do the cutting. It is going to minimize the mess and make things a lot easier.
After you color the plate, cut it up into three pieces like a pie. Glue them overlapping each other one over the other to create a tree shape. Then, let your creativity run free! Decorate it with ornaments using confetti circles and a bright star. You can even lace some ribbon using a hole puncher, as shown in the Pin photo above.
Paper Plate Wreath
Wreath crafts with paper plates are a favorite! Like our fall wreath was super popular on both our Instagram and Pinterest, so this one, I’m sure, is also going to be a favorite one to do.
Cut out the center of the paper plate and paint it with green paint. Let it try. Then crunch up some tissue papers and fill it all the way around. Add some red pom poms and a red ribbon to finish it off.
Beaded Wreath
Want something simple? this fine motor activity is not just easy or developmentally helpful, but it is super cute! All you need are some pony beads in Christmas colors and a glitter pipe cleaner (found at the Dollar store and craft stores). Lace the beads into the pipe cleaner and then create a loop around. Use the remaining pipe cleaner to tie a nice bow.
Name Recognition Christmas Tree
Let’s use crafts also to reinforce some learning. Cut out a few triangles and overlap them over each other to create a Christmas tree. Write a letter in each triangle to complete their name. Finish it off with a yellow star at the top.
Name Recognition Snowman
Same idea as the tree but with a snowman. So adorable! Cut out circles, add a tiny orange pom-pom and googly eyes. How adorable is this!
Long name? make smaller circles so it fits on the page.
Popsicle Stick Christmas Tree Craft
This one is so cute and so simple! They sell craft sticks already colored, so that takes one step of the craft. Make a triangle using three popsicle sticks to create a tree. Then add some pom-poms, lace some bells onto a pipe cleaner and wrap it around the triangle. Finish your creations with a start at the top and a rectangle at the bottom.
Penguin Handprint
Another hand-print, and this one is a cute little penguin. I guess not everything winter is Christmas trees and wreaths, but making this cute penguin is the perfect way to end this list. Trace a hand-print and cut it out using black construction paper. Add a white circle over it to represent its belly, googly eyes, and an orange triangle for the beak. Glue the penguin to the blue cardstock and add pom poms to represent snow and paper snowflakes to finish it off.
Get tons of creative ideas to do with your kids at home! Become a PLAY MEMBER by signing up for the newsletter. Play members get seasonal activity ideas right in your inbox, a special invitation to our Mommy & Me Virtual Circle time, and access to our free library with educational printables and activities to develop your child through sensory play and reach their developmental milestones.
Share Me!