Babies and toddlers all like to play with sensory bottles. Create a sensory bottle based on the nursery rhyme Itsy Bitsy Spider.
So if you are ready, let’s get started!
Materials:
- VOSS Plastic bottle or similar
- Clear Glue
- Plastic Spider
- Blue Glitter
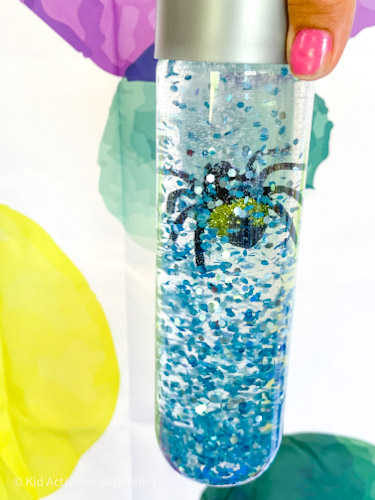
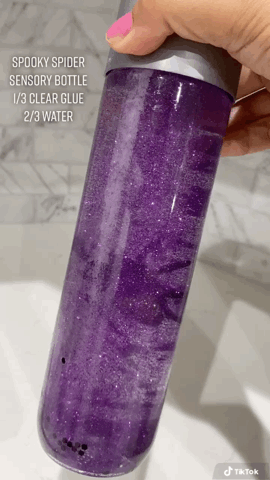
I love how ideas just come out of doing other activities. This was initially a spooky spider sensory bottle because Halloween is just around the corner and when I shared it with my son I started to sing the itsy bitsy spider. Ohhh I had purple glitter because it was a spooky spider but I’d I changed it to blue, then it would act as the rain!!
I dumped my spooky sensory bottle and replaced the purple glitter with blue confetti to make this one. This follows the same tutorial (15 sec video) as our spooky spider.
How to Make a Itsy Bitsy Spider Sensory Bottle
- Remove about 1/4 of the water from the bottle. We will replace that with glue or hand soap later on.
- Heat up the water with warm water (about 1 minute in the microwave)
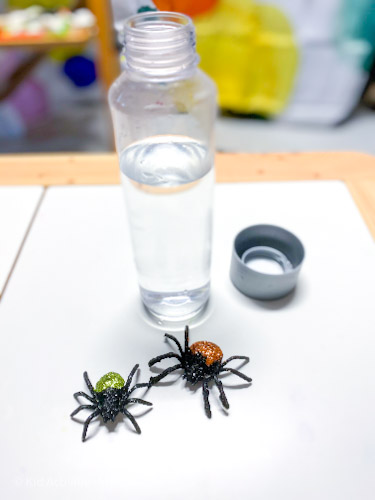
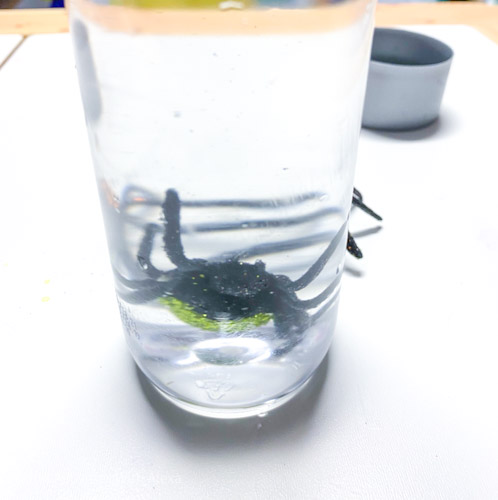
- Add your spider into the VOSS plastic bottle (or similar).
- Add the glue or soap to dissolve with the warm water. The glue will make the confetti and spider fall slower when you flip the bottle.
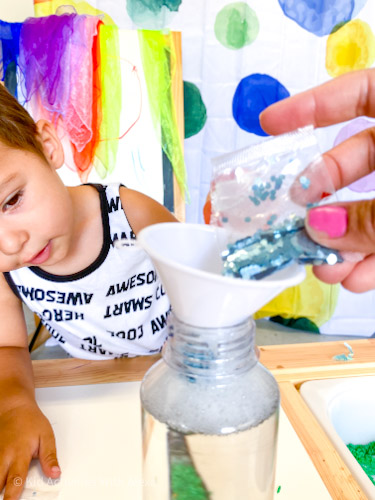
- Add a small quantity (about a tablespoon) of confetti (or glitter). Don’t add too much because then you won’t be able to see the spider inside.
- Close the bottle and shake to allow the glue water and confetti to mix.
TEst & Enjoy
If you like the speed how the spider and glitter fall, you can seal the bottle tightly and secure it with hot glue or superglue. Gluing the bottle cap will ensure your little learner does not open the bottle and spilling the glitter and glue all over.
You can make this bottle as a sopooky halloween bottle too! Check it out here
1 thought on “Itsy Bitsy spider sensory bottle”
Comments are closed.