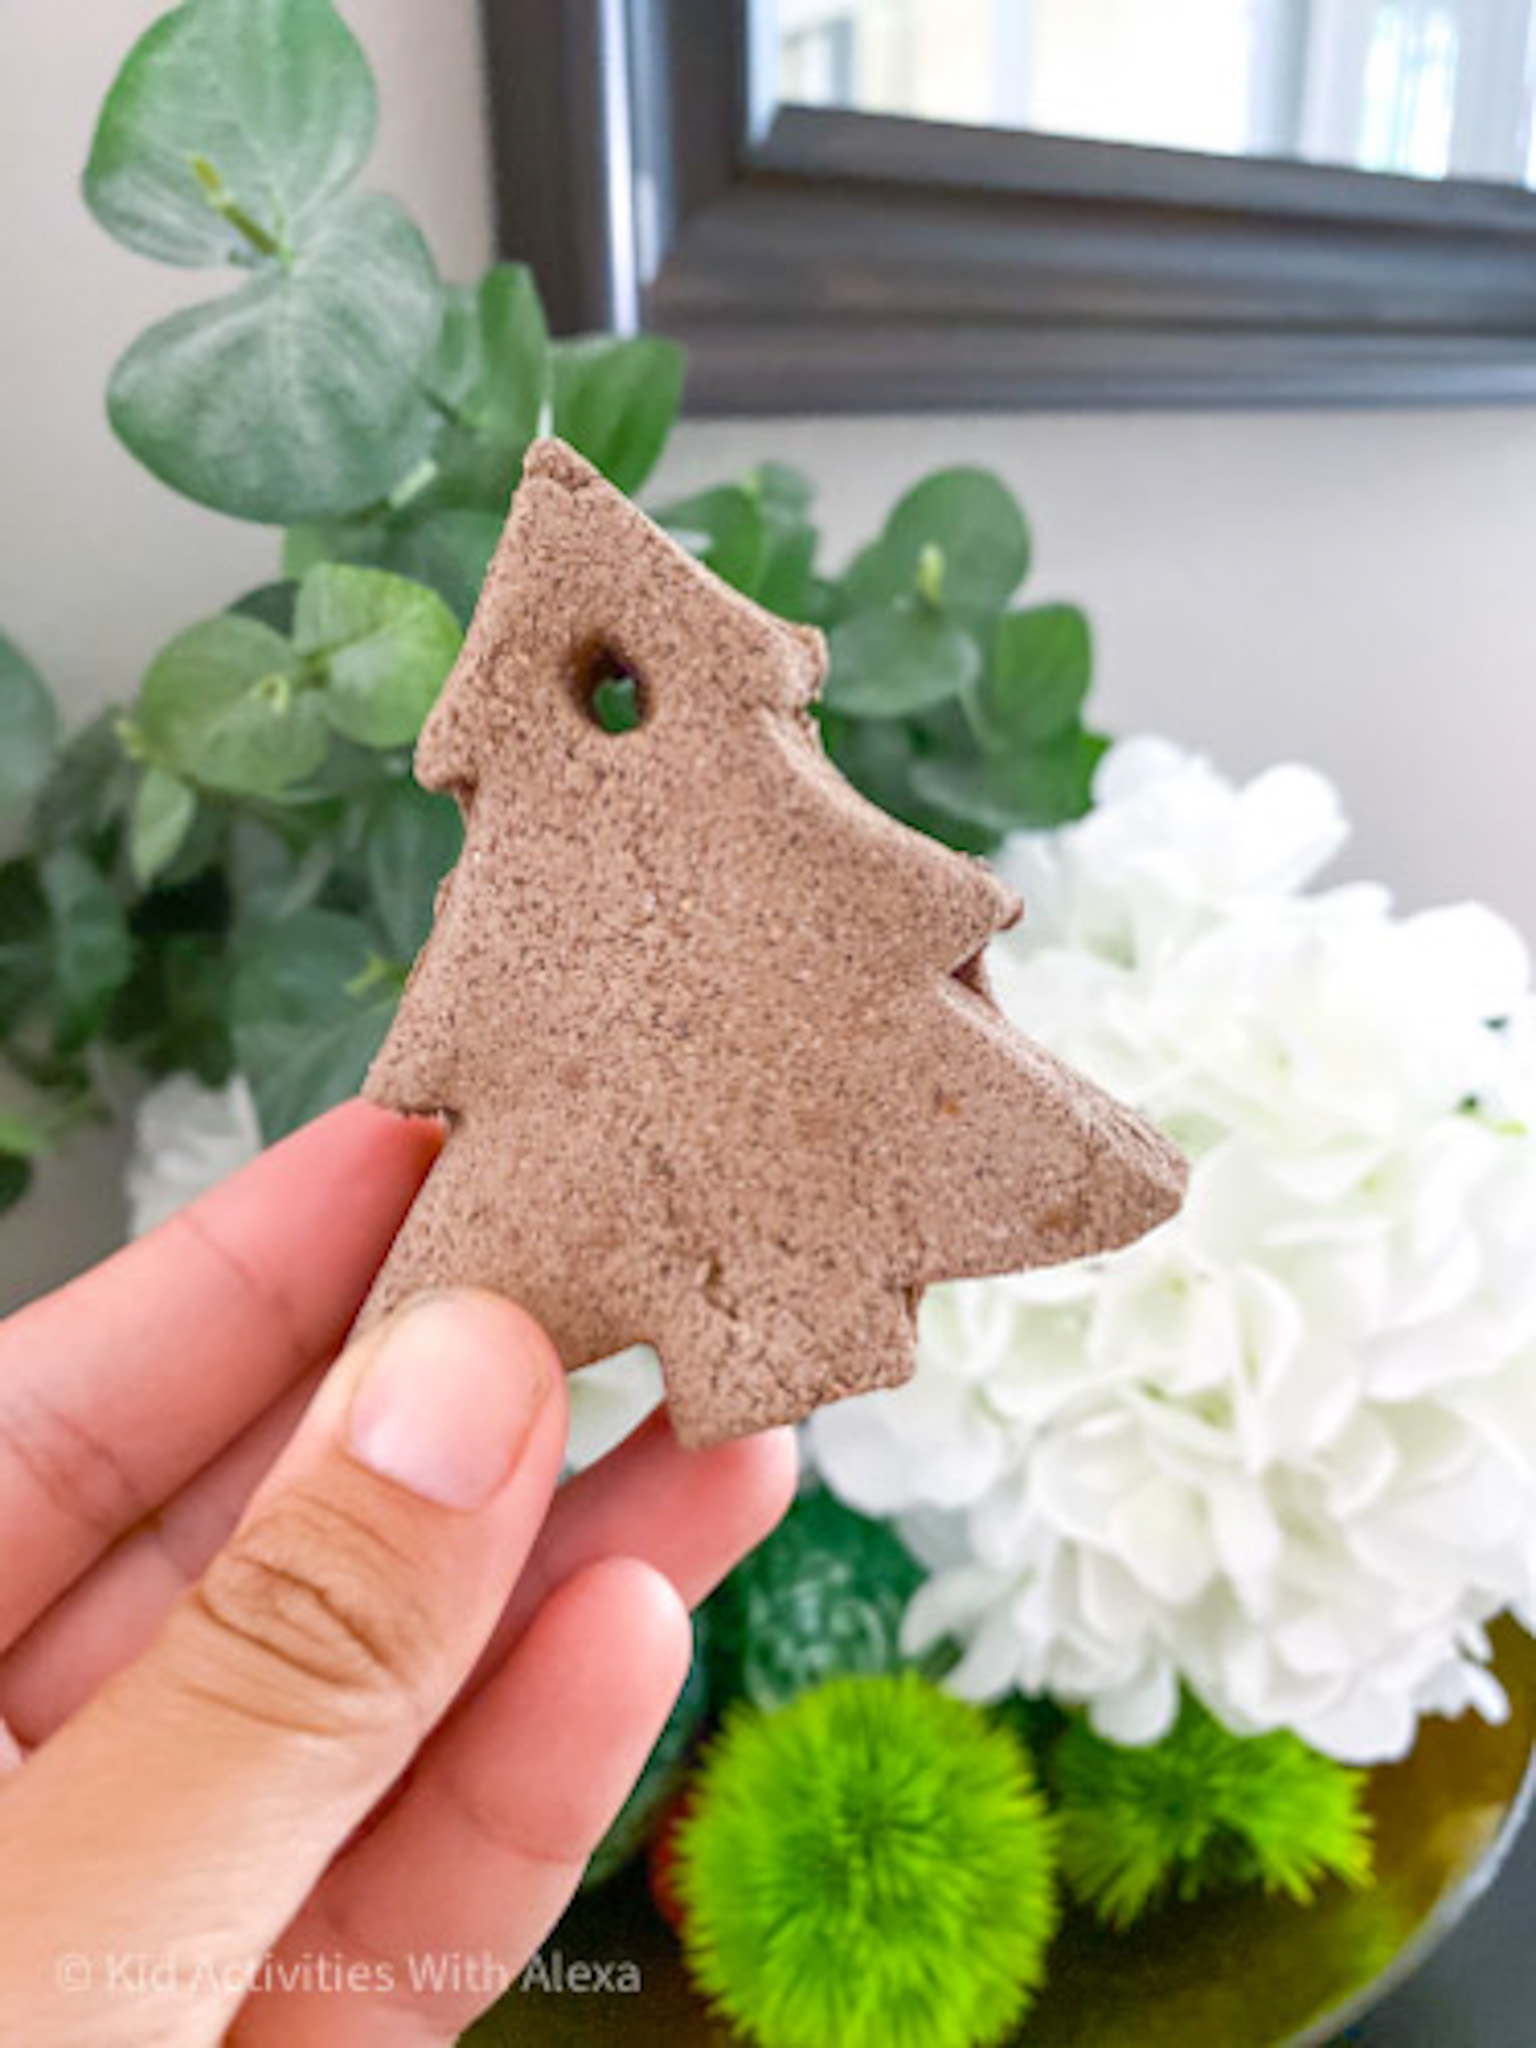
Making homemade cinnamon ornaments (without apple sauce) for Christmas has become a tradition in our house. The kids make it and we add it over Christmas gifts as an extra gift. Everyone loves them and they smell fantastic!
The cinnamon dough is traditionally done with applesauce. I haven’t made that one or keep it in my pantry for crafts, this recipe works amazingly without the use of applesauce. known for Christmas permanent making but we have used it practice shapes, free play and I create creativity at home.
This homemade cinnamon ornaments recipe along with other toddler activities is available in the book 365 toddler activities that inspire creativity. We did tweak the original recipe as we didn’t have enough nutmeg. It came out fantastic! The best part is once they are done from the oven you don’t need to paint them they look great as is, but if you do they are also cute!

Let’s get started! Save this or print this recipe so you can make it every year!
HOW TO MAKE HOMEMADE CINNAMON ORNAMENTS WITHOUT APPLE SAUCE
Cinnamon Dough for Ornaments Recipe
Ingredients
- 1 ½ cups of flour
- 1 cup of cinnamon
- 1 Tbs nutmeg
- 1 cup of salt
- 1 cup of water
- Cookie cutters
- 1 paper straw
Instructions
- Mix all dry ingredients together
- Add in water and mix with a spoon
- When you can’t mix with the spoon any longer knead then dough
- Add more water if the dough is not holding together – it should have the consistency of Playdough
- Flatten the dough into 1/4 inch and press cookie cutters to create shapes
- Use a straw to cut out a small circle at the top to create ornaments
- Bake the shapes for 30 minutes in the oven at 350 degrees Fahrenheit
- Let the dough cool down
- Lace a ribbon through the hole to create a hanging ornament
step by Step Instructions
Step 1- Gather ingredients
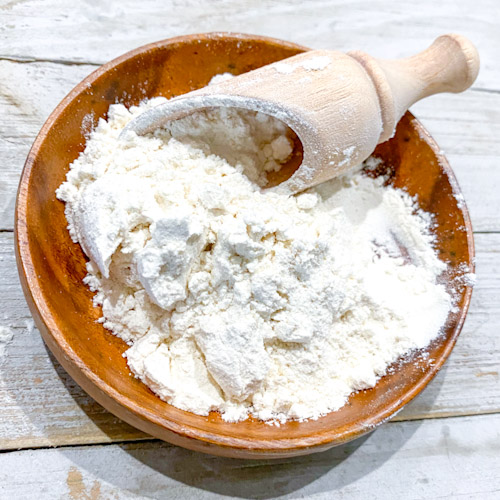
All Purpose Flour 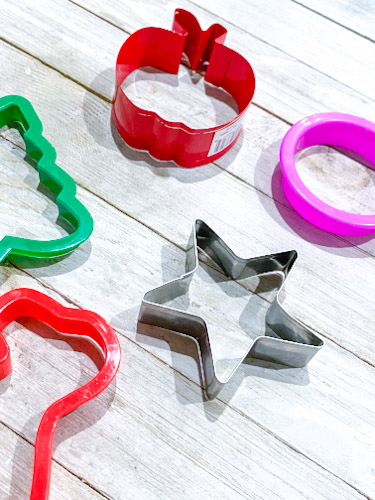
Cookie Cutters 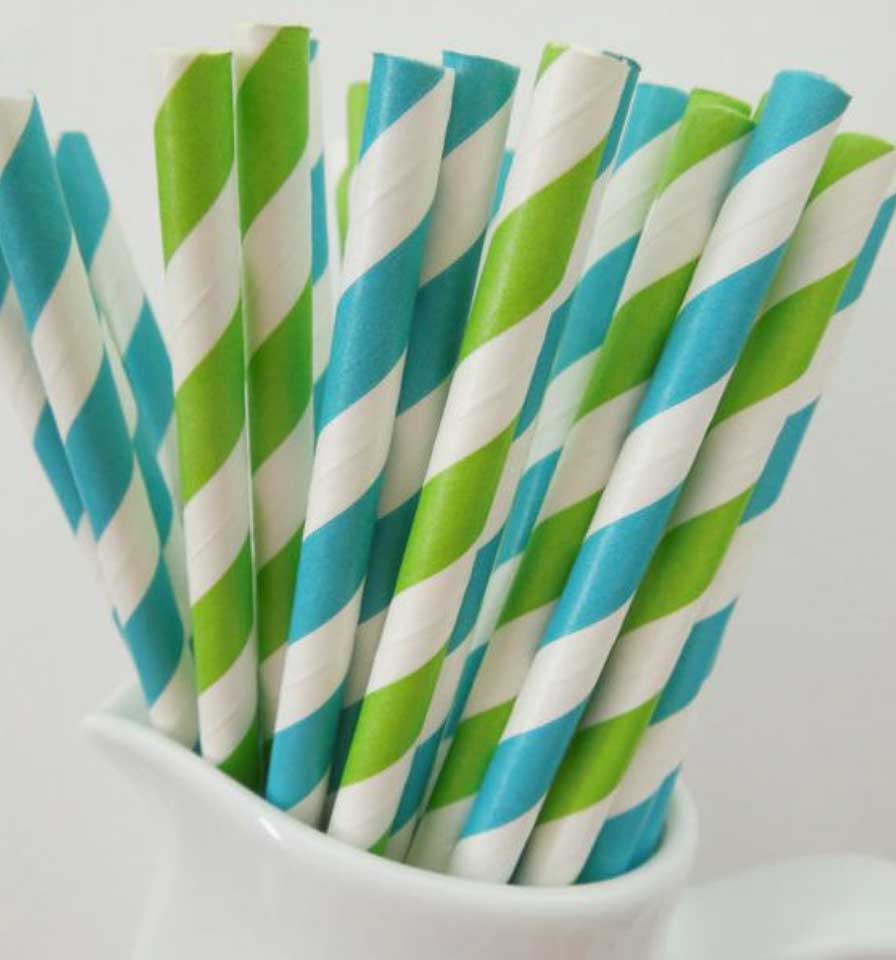
Paper Straws 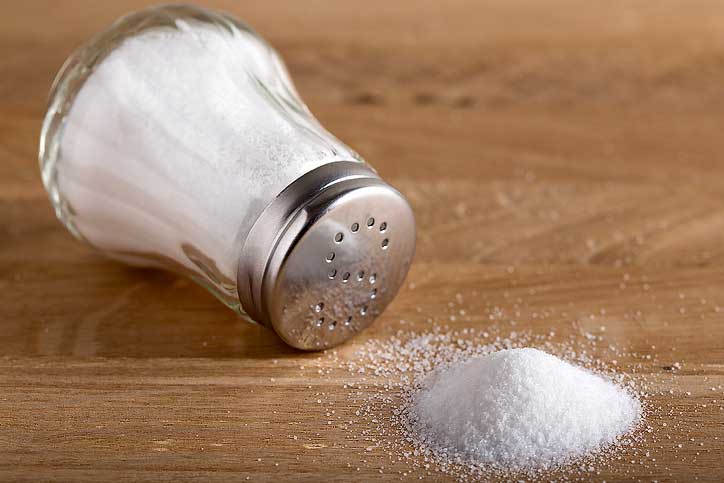
Salt 
Water 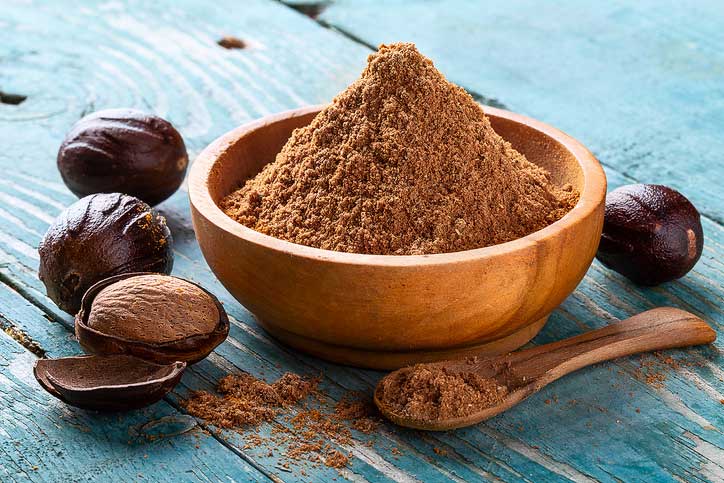
Nutmeg 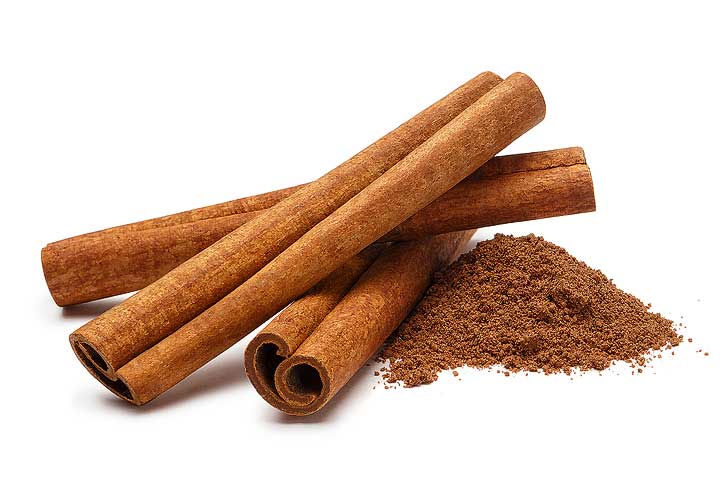
Cinnamon
To make these cinnamon ornaments without using applesauce you will need:
- 1 ½ cups of flour
- 1 cup of cinnamon
- 1 Tbs nutmeg
- 1 cup of salt
- 1 cup of water
- Cookie cutters
- 1 paper straw
Step 2 – Mix ingredients together
Using a large bowl add all dry ingredients and mix them with a spoon. I always like to mix all dry ingredients first before adding the wet ones on any recipe.I feel they ingredients blend better this way.
Step 3 – Add the water
When all dry ingredients are mixed, using the same spoon add the water and start blending. When you can’t mix with the spoon any longer knead the dough with your hands.
Add more water if the dough is not holding together – it should have the consistency of Playdough
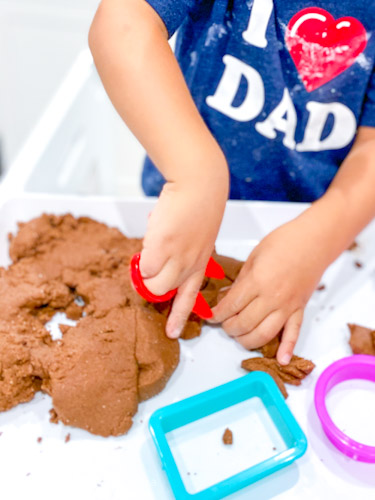
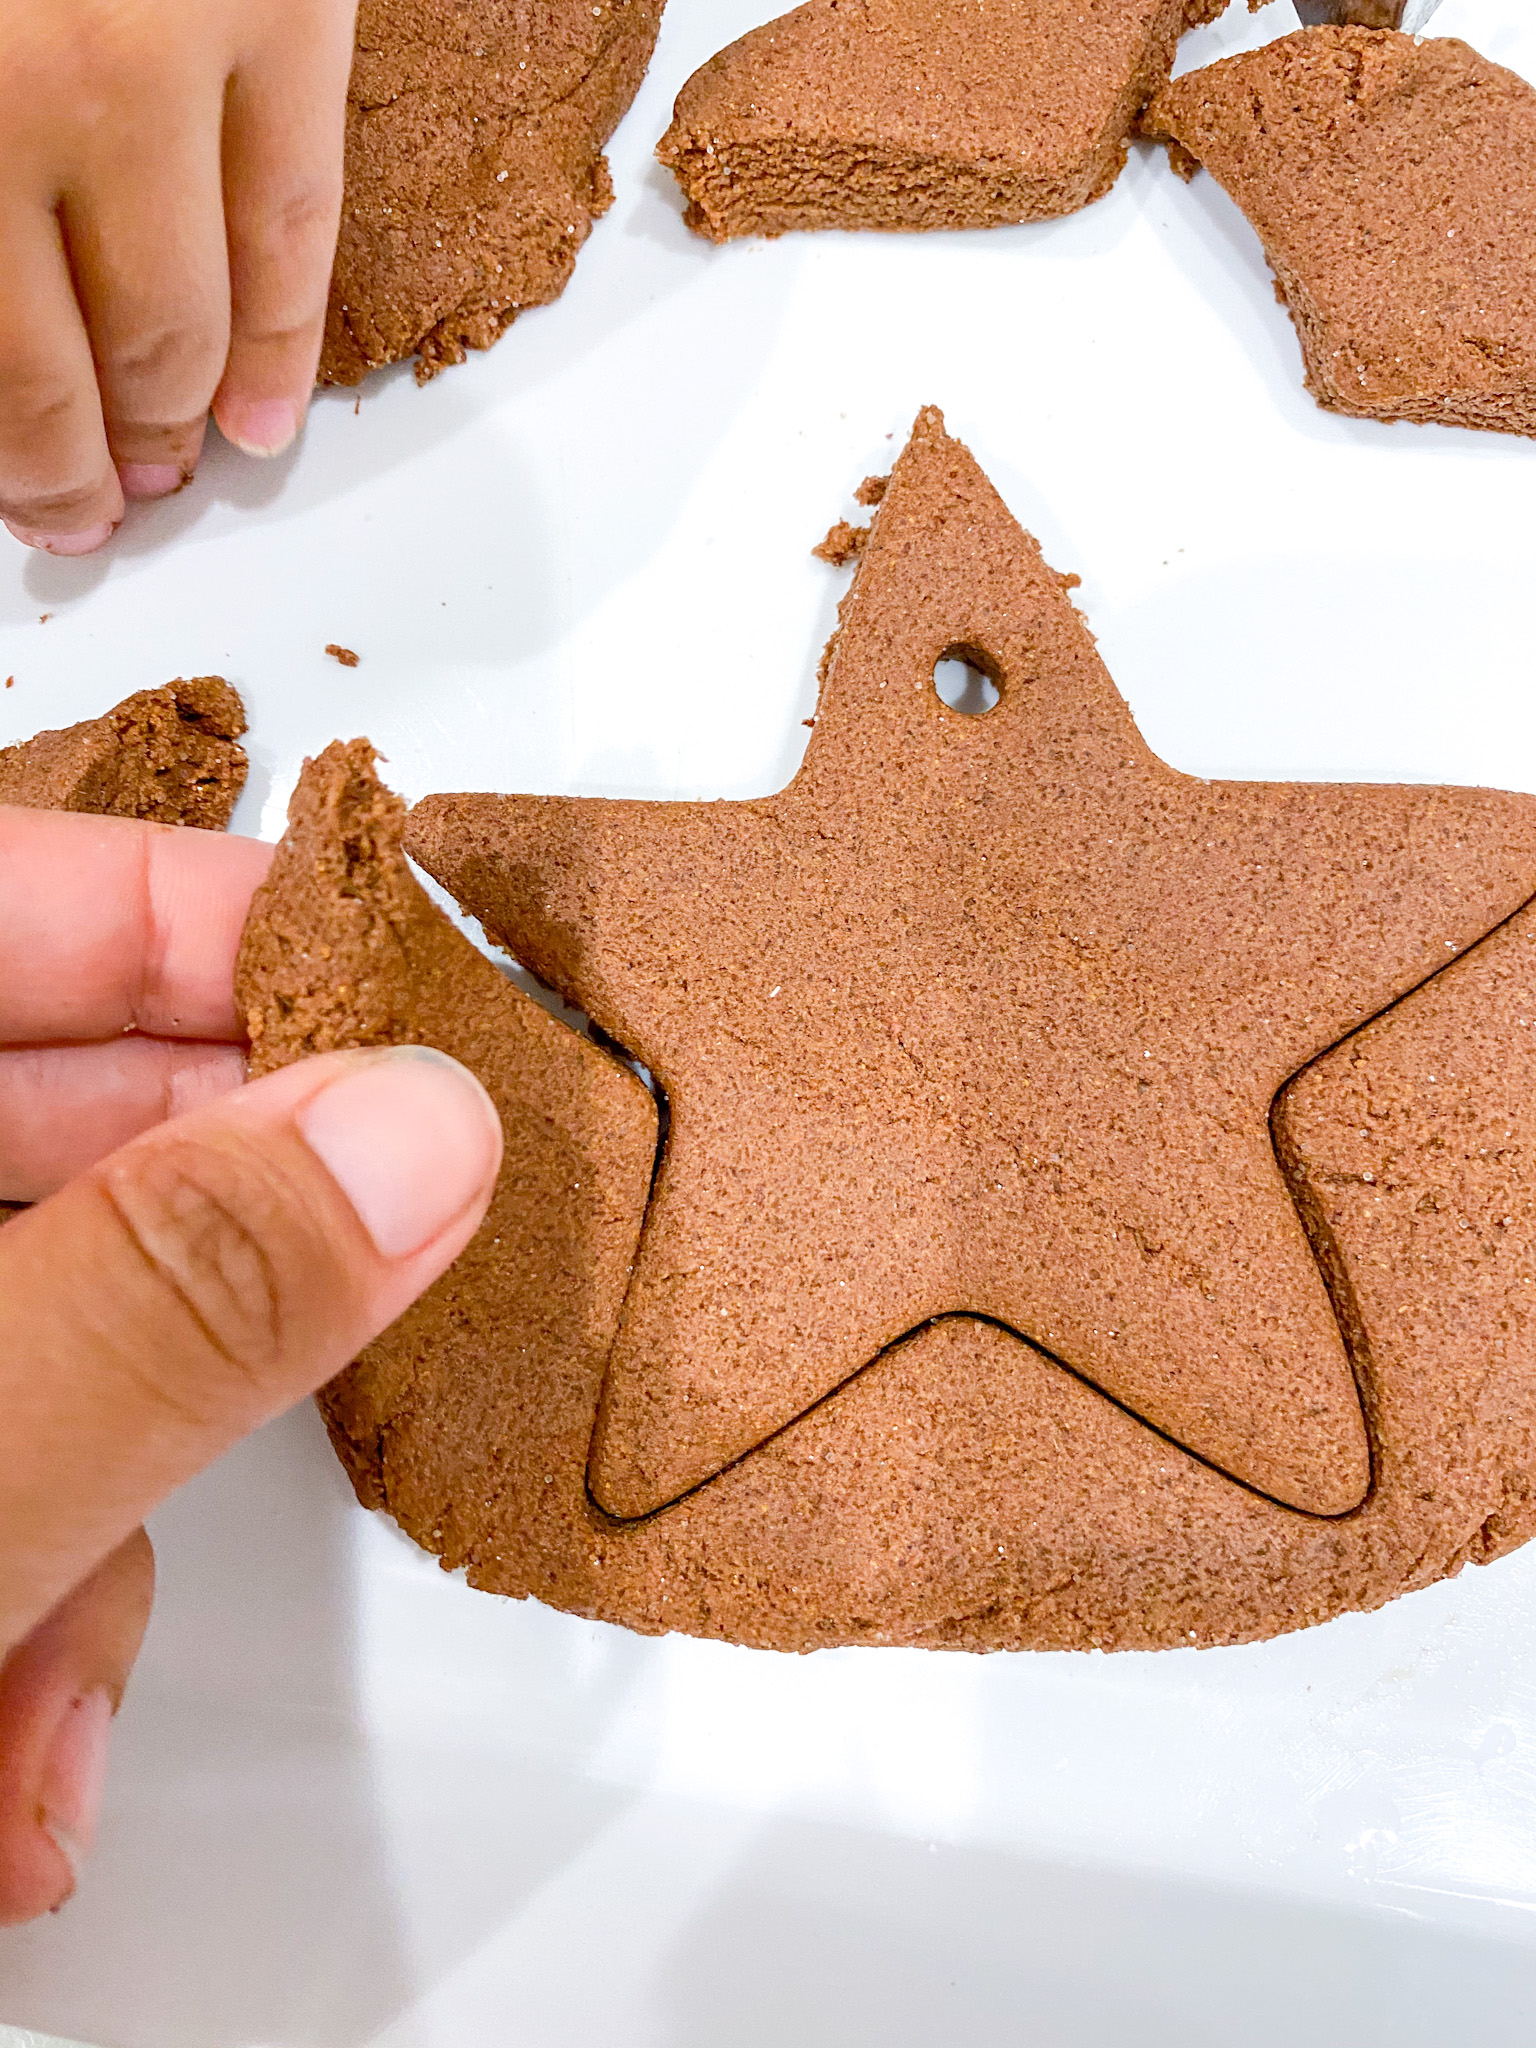
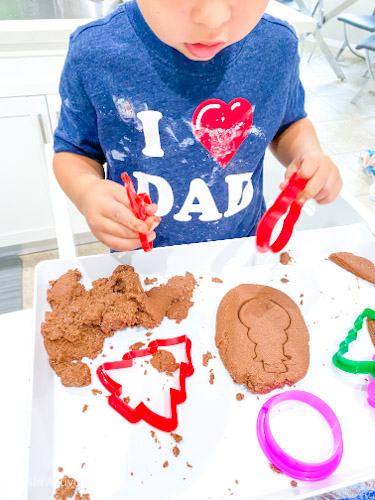
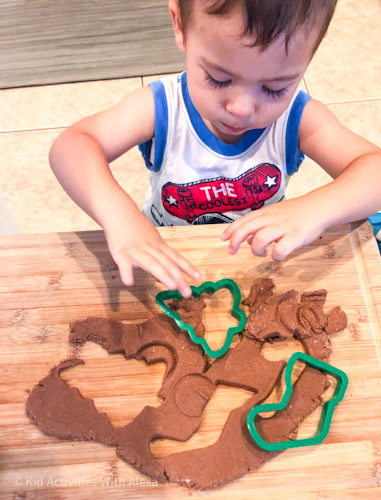
Step 4 – Flatten the dough
Flatten the dough into 1/4 inch and press cookie cutters to create shapes.
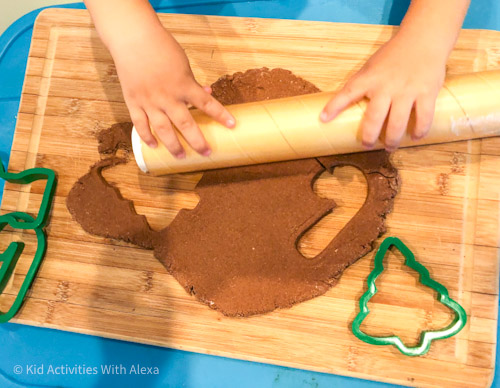
Ensure that you are pressing all the way down to loosen the extra dough on the sides.


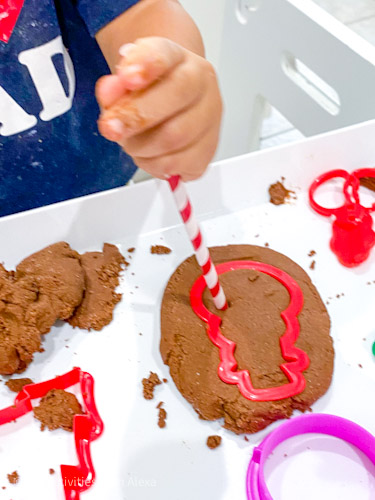
Step 5 – Create the ornament hole
Use a straw to cut out a small circle at the top to create the hole to string the ornaments. Ideally, this is done at the top, but my toddler had a different idea hero so I let him be creative.
Step 6 – Bake at 350 Degrees
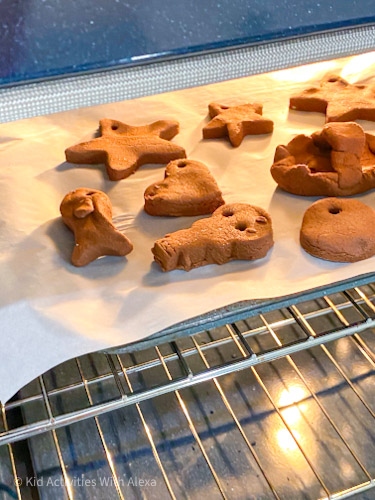
Bake the ornaments for 30 minutes in the oven at 350 degrees Fahrenheit.
When I baked mine, I used an over a tray and parchment paper, this means the ornaments didn’t get the same amount of heat on the bottom as they did on the top. Ideally, I should have placed them directly in the rack but, I was afraid they would fall. For this reason, after the 30 minutes where over, I flipped them and added another 30 minutes to the oven time.
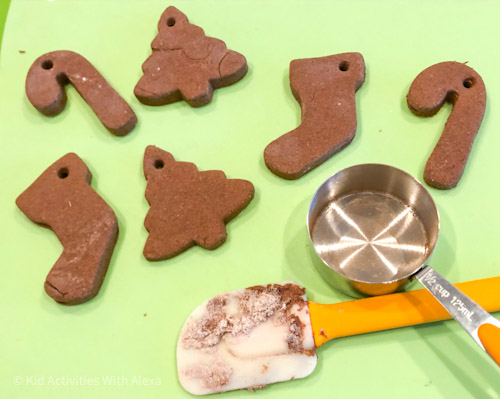
Step 7 – Let them cool
Let the dough cool down, before attempting to decorate them.
After they cool down you can lace a ribbon through the hole to create a hanging ornament
How do you decorate salt dough ornaments?
Allow 24 hours for them to fully harden and dry up before decorating your cinnamon dough ornaments.
There are many ways to decorate your ornament.
- You can leave them as-is for a natural feel.
- You can add acrylic paint to give them a pop of color! (This simple design is perfect for toddlers and preschoolers)
- You can create puffy paint with glitter for a sparkle design
- You can combine all techniques for a very detailed design.


Decorate a cinnamon ornament with craft paint
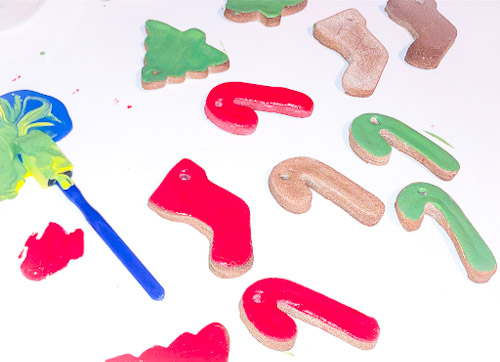
Once the ornaments are dried, you can use regular craft paint to decorate them. The ornaments will absorb a little of the paint since they are so dry. You may need more than one coat to get a really bold color.
What I did on the second batch, I added a coat of school glue to the ornament first before adding the paint. This way, it created a layer between the dough and the paint and avoided the dough to absorb the colors allowing the paint to stay bright.
When the paint dried, I added a second layer of school glue to give it some shine.
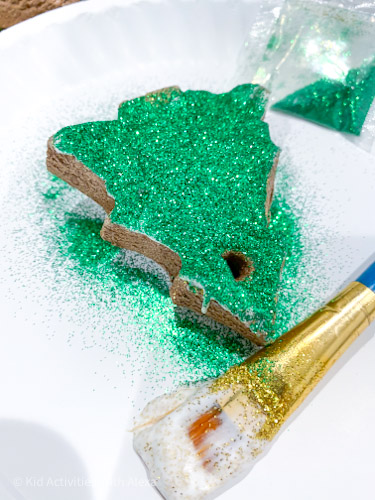
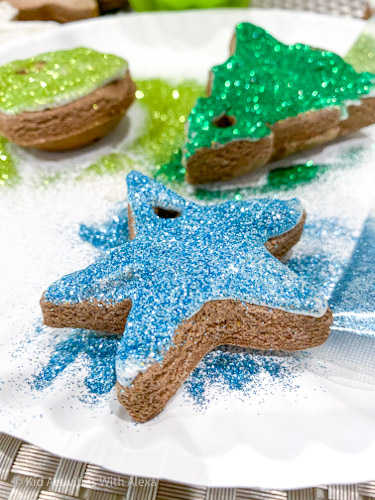
Decorate The cinnamon ornaments with gliTter
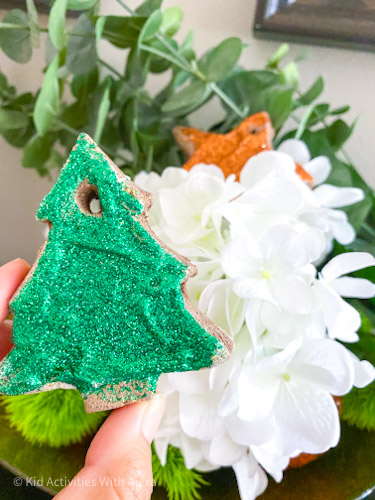
I am obsessed with glitter ornaments, they are not too simple and not full of detail either but they call everyone’s attention!
I like that traditional cookies have a layer of frosting over them so I wanted to recreate that look. I created a batch of puffy paint and added some glitter in it. Below I’ll share with you the recipe to make puffy paint.
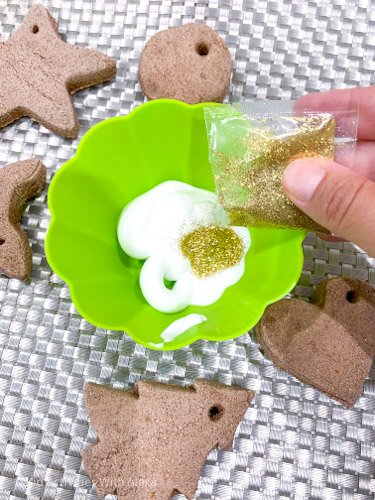
Puffy Paint Recipe with Shaving Cream
Ingredients
- • Shaving cream
- • School white glue
- • Food coloring or washable paint
- • Thick paper: cardboard or cardstock
Instructions
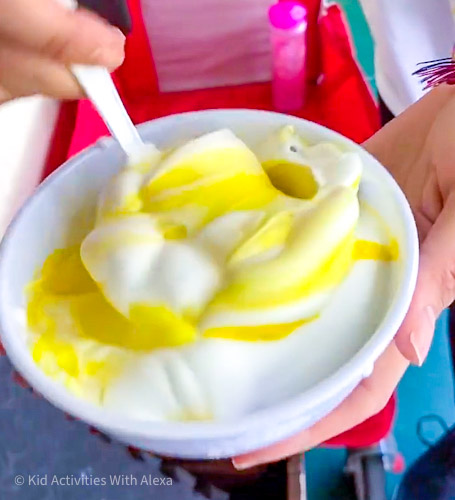
- In a bowl, mix equal measures of shaving cream and school glue.
- Add five drops of food coloring or paint to each paint mix.
- Mix and enjoy painting on the cardboard.
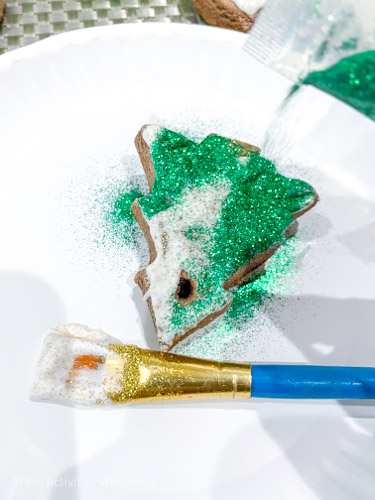
I spread the puffy paint over the cookie and sprinkle it generously with glitter. Let it dry for 24 hrs.

How long do Salt ornaments last?
The cinnamon really sticks inside for the long term! I did them last year and they still have a cinnamon smell, and while doing some research I even found a comment from someone who has had it for a really long time and it still hasn’t lost it’s smell.
My brother made one of these in his first-grade class… he’s 26 years old now and it still smells amazing! doing this to add to Christmas gifts for friends this year :]
chrissymarie
Making these was a lot of fun and so delicious smelling, the house smelled all day when we made them and the scent lasted for a really long time. I can’t wait for you to try them!
Get tons of creative ideas to do with your kids at home! Become a PLAY MEMBER by signing up for the newsletter. Play members get seasonal activity ideas right in your inbox, a special invitation to our Mommy & Me Virtual Circle time, and access to our free library with educational printables and activities to develop your child through sensory play and reach their developmental milestones.
Like it? Love it? Helpful?
Share this homemade cinnamon ornaments tutorial on Pinterest!
