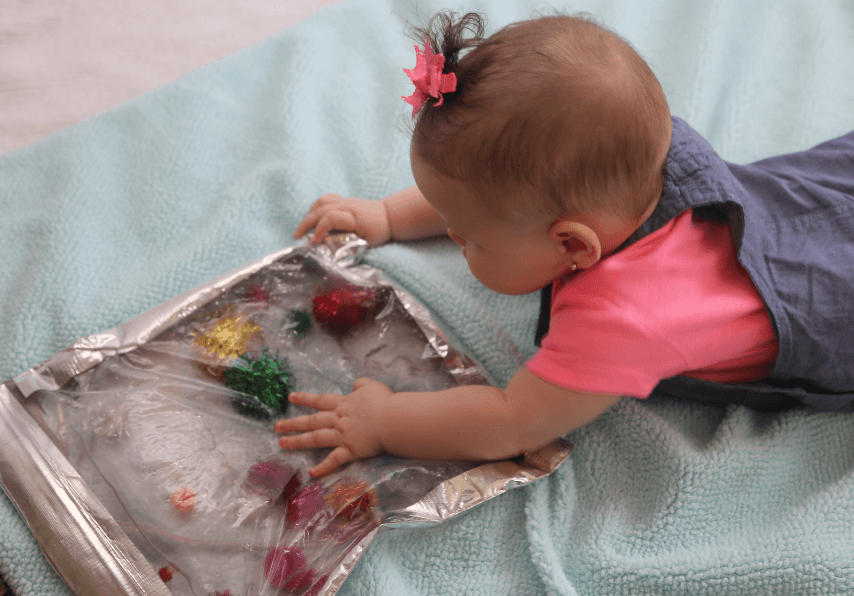
The most critical stage of a child’s growth is from birth to 6 years old. Children use their senses to explore and unveil the world around them. Sensory bags are an excellent way to stimulate an infant’s senses of touch, smell, taste, sight, and brain development.
A sensory bag encourage infants to investigate and explore the world around them as they observe objects, experiment, and draw their cause and effect conclusions.
Sensory play is a kind of playing activity that stimulates or engages a child’s senses. These senses include smell, taste, touch, hearing, and sight. Other than this, it can also engage in movement and balance.
Sensory play is essential for children. It plays a vital role in the development of several kinds of skills in children, including language skills, sensory input, social skills, and fine motor skills. Sensory bags for babies can easily be made at home.
Here, we’re going to learn about sensory bags, their benefits, types, how to make sensory bags, and much more.
The ultimate guide to making sensory bags
What Is A Sensory Bag?
Also known as a squish bag, this bag is generally a transparent plastic bag containing little toys and fluids. A sensory bag can help you create mess-free sensory plays for your baby. Sensory bags for babies are easy to create, and they’re portable too.
As the name suggests, sensory bags engage many senses of babies and help them learn, discover, explore, and imagine using their senses. Sensory bags are squishy, slim, and portable, making them easier to carry and place. They are a great learning tool for babies.
Sensory Bag Benefits
Sensory play impacts many areas of development in infants. It helps develop their vocabulary and grammar.
Sensory play helps to build nerve connections in their brains.
Kid’s fine motor skills are also improved as they manipulate small objects. Sensory bags help improve infants’ problem-solving abilities, making them more prepared to complete more complex learning tasks.
Sensory bags are not just for kid, did you know there is evidence shows that sensory bags are proven to help Alzheimer’s and dementia patients stimulate their senses and improve their sleep, decreasing their agitation and restlessness. This evidence may suggest that sensory bags can be useful in creating a calm state for adults and possibly, children.
Sensory Play helps with certain food textures
Touching varying textures of sensory bags can develop their trust and understanding of the textures, thus building a positive pathway in the brain and thereby averting the fussiness. When deciding what to include in an infant’s sensory bag, your imagination is your limit.
Here is a few step by step DIY sensory bags that infants love and can build their cognitive, social, language, fine, gross motor, and problem-solving skills. Even if you are not the DIY Mom, you may be able to purchase similar ready made sensory bags for your little one.
Mess-Free play
When sensory bags are involved in sensory plays, they can provide hours of mess-free sensory activities. Babies have this habit of grabbing everything and put it into their mouths, which makes you supervise them all the time. Sensory bags are tightly closed or sealed, making them safe for your babies.
Reusable & durable
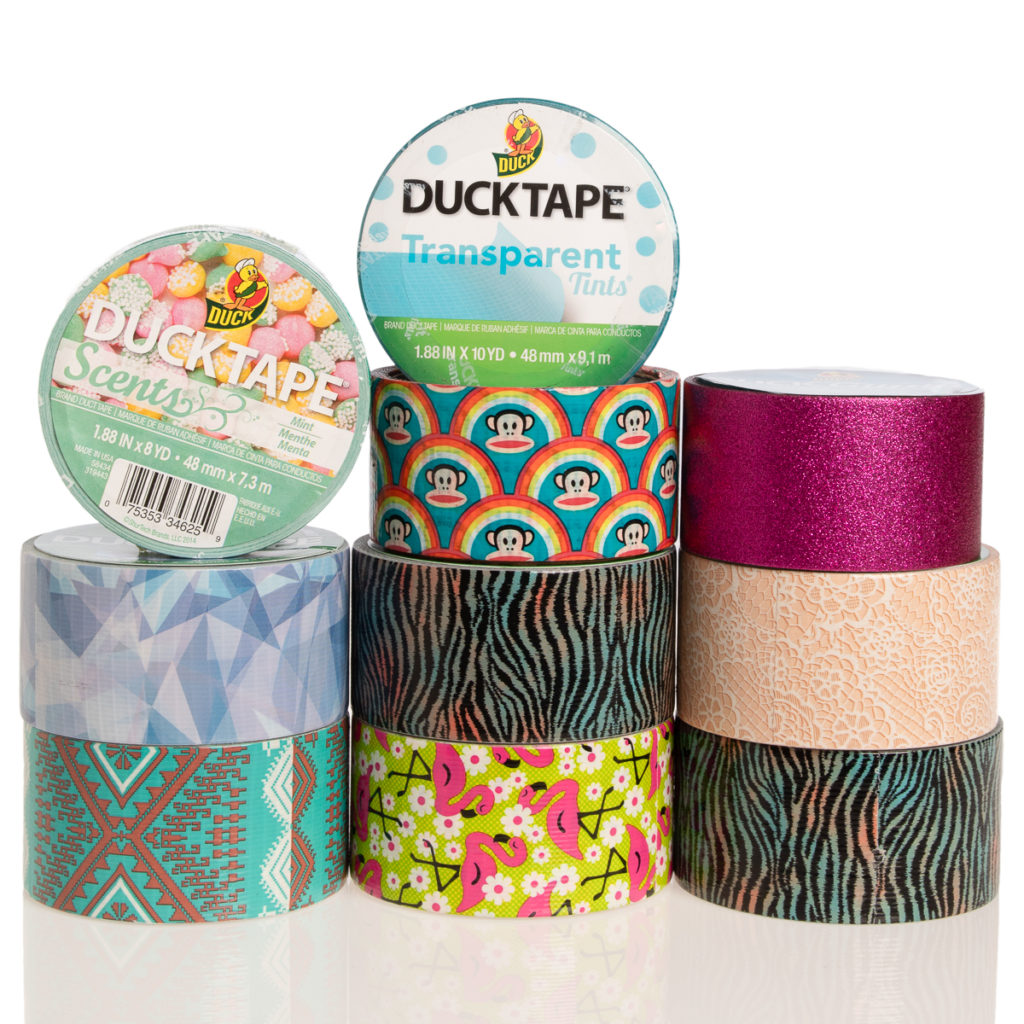
Sensory bags are reusable and can last for a long time, making them a durable playing & learning tool. Applying duct tape on its edges makes it safer and durable.
Portable
Sensory bags are small, portable, and slim. If you are traveling with your baby, you can keep sensory bags inside your traveling bag and give it to your kid whenever you want.
Age Recommendations to Start Using Sensory Bags
Isn’t it amazing that babies get everything into their mouths? For most of the parents, it’s a constant worry, and they need to supervise their babies all the time.
When babies cross the age of 12 months, they start to grab little things that make it easy for them to put things into their mouths. The good news is you can make playing activities safe for your baby. All you need is to make a simple change. Add little toys in the Ziploc bag and let your baby play and explore safely.
The best practice is to observe your baby and the first time you seem him/her putting things into the mouth, start using a sensory bag.
Steps to make a Sensory Bag
Making sensory bags for babies isn’t a difficult task at all. Sensory bags are not just of one kind. Depending on the type of material or items you want to put into the bag, you need to find the choose the appropriate bag.
Step 1: Get the right bag
The primary thing you need is a plastic bag. There are many types of bags.
- ziplock bag – affordable and easy to find
- Laminating Sheet bag – Durable and permanent
- Reusable – reusable and eco friendly
Typically, a Ziploc bag is used to make a sensory bag that can be reused or disposed quickly.
The plastic is thin so they can easily be punctured slowing them filler to come out. I recommend to use ziplock bags for dry bags that do not have water or gel inside or those that you don’t mind disposing off quickly.
What Type Of Bags is the best To Use for a sensory bag
You can use different types of material to make a sensory bag.
The benefit of using Ziploc is that it already has a zipper-lock and is in the right shape to use it as a sensory bag. On the other hand, using a laminating sheet requires you to prepare the bag yourself. You can buy a Ziploc bag from your nearest departmental store.
To make a sensory bag with a laminating sheet, take a laminating sheet.
Using a hair straightener or iron seal of 2 of the longest sides to completely closed. The third side, seal just enough to leave a pixie in the middle.
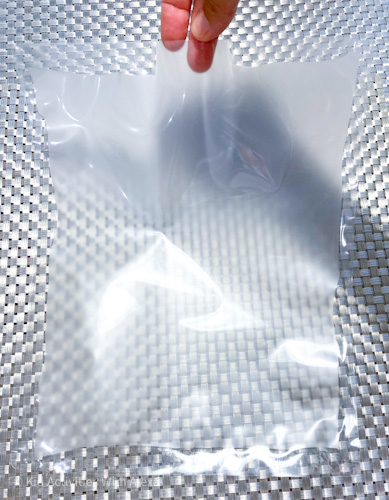
Now pour the liquid and fillers into it and completely iron the rest.
Sensory bags made with laminating sheets cannot be reused but they are longer lasting that bags made from ziplock bags.
Step 2: Pick your filler
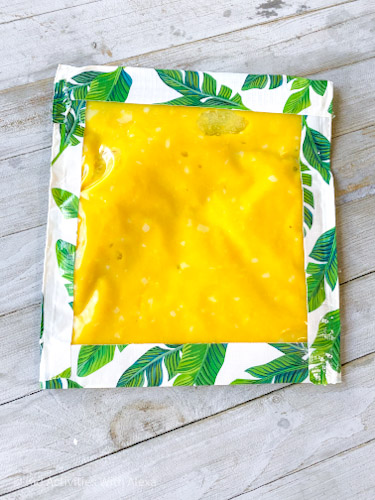
To make the bag squishy, pour fluid into it like hair gel, slime, or water mixed with a coloring agent. Don’t overfill the bag; one third is enough.
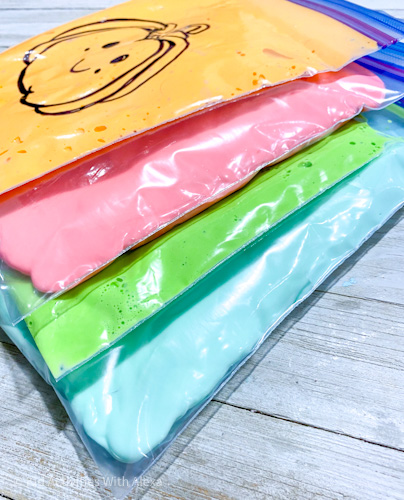
Slime sensory bag 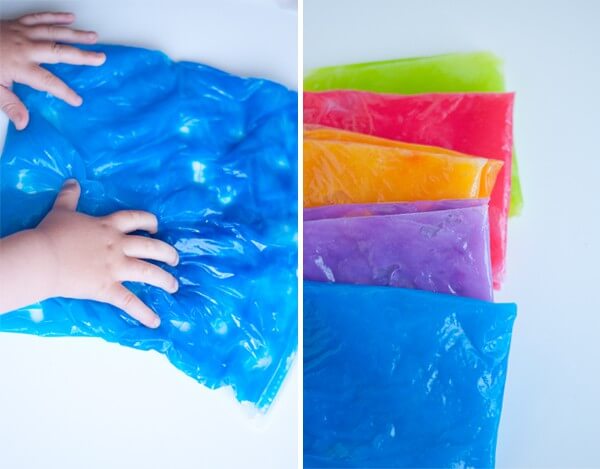
Hair gel sensory bag
What Fluids Go In Sensory Bags?
Sensory bags are generally squishy. So you need to put fluid into the bag that would make it squishy. Any type of fluid that you don’t want your kid to be putting into the mouth can be poured into the bag.
The mixture of oil and water is a good choice to make squishy sensory bags for babies.
Other interesting fluids that make the bag squishy include:
- Shaving cream
- Water mixed with food colors
- Hand sanitizer
- Vegetable oil
- Cornstarch
Step 3: Add the Embellishment
Add little toys, buttons, beads, or anything else that your baby loves to play with into the bag.
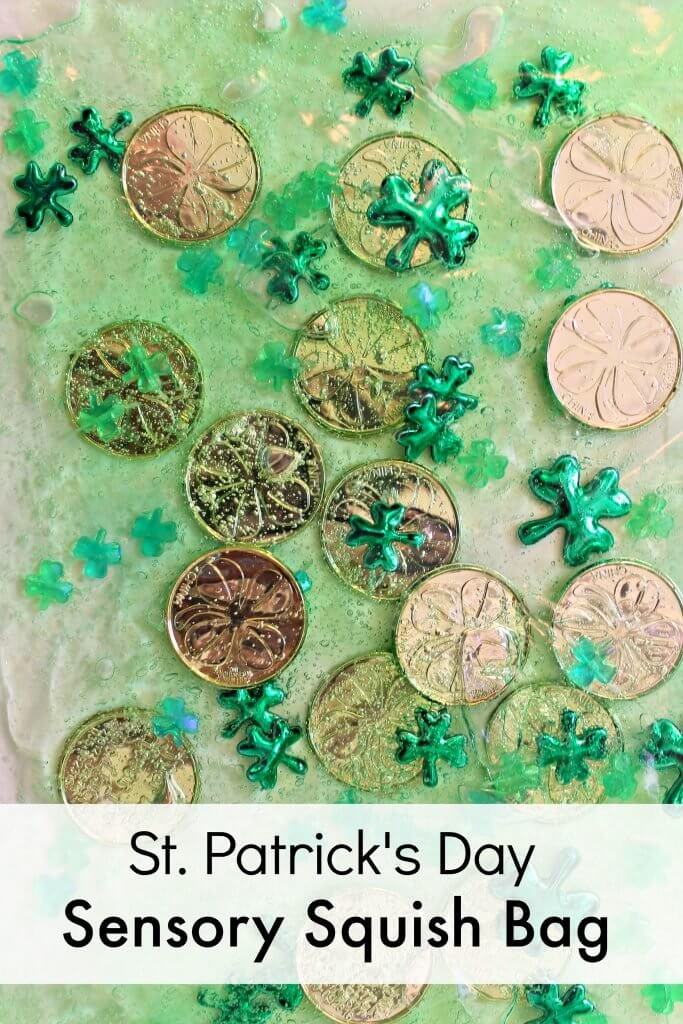
Embellishments To Put In Sensory Bags
When creating sensory bags for babies, you need to consider the preferences and liking of your baby. Ideally, you would want to put the favorite toys of your baby into the bag. However, you can use several kinds of items as sensory bag fillers. The core idea is to develop certain skills in your baby, so anything can be put into the bag.
Some commonly used fillers include:
- Water beads
- Mini eraser
- Little toys
- Glitter or confetti
- Pom-pom balls
- Stickers
- Coins
- Any other small items
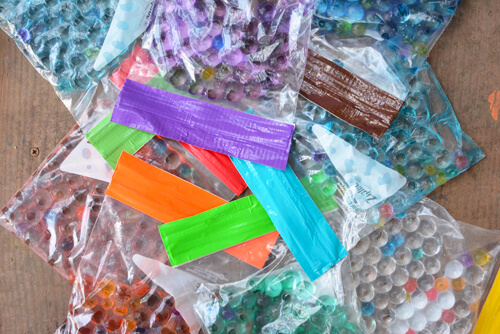
Step 4: Make it baby-Proof
Remove the air from the bag and close the zipper.
For more safety & protection, apply duct tape to the edges of the bag.
How Long Do Sensory Bags Last?
You can expect your baby to play with sensory bag anywhere between 1-10 minutes. During this period, your baby will squeeze and slap the bag. Depending on how your baby plays with the sensory bag, it can last as long as the fluid is inside the bag. If your baby creates leakage in the bag, you can’t reuse it.
Generally, sensory bags for babies experience tears from their edges. One way to improve its strength is to apply duct tape on its edges. This way, your child won’t be able to bite the edges and no leakage with happen.
Now let’s get some ideas from around the internet on what type of sensory bags you can do.
Ultimate list of sensory bag ideas
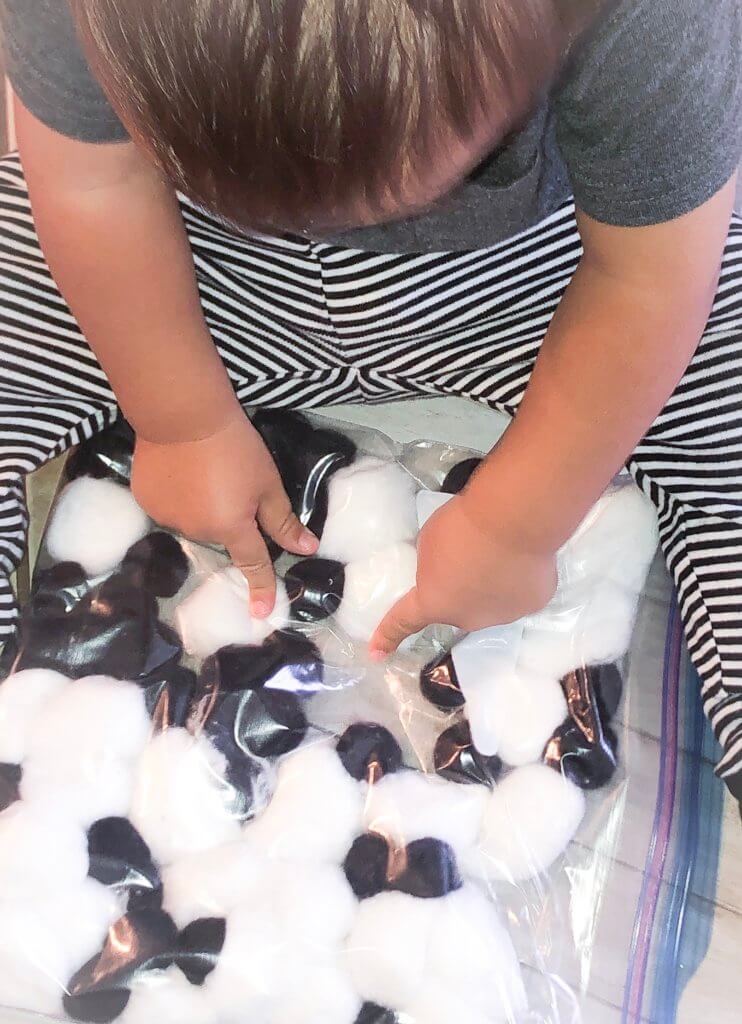
High-Contrast sensory bag
Fill up a ziplock bag with black Pom-poms And white cotton balls. High contrast images and sensory bags are great for little ones still doing tummy time and working on the development of their eye sight.
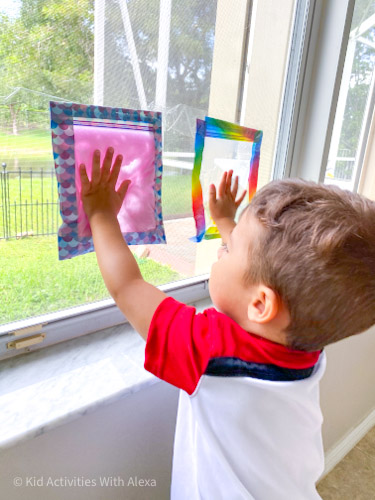
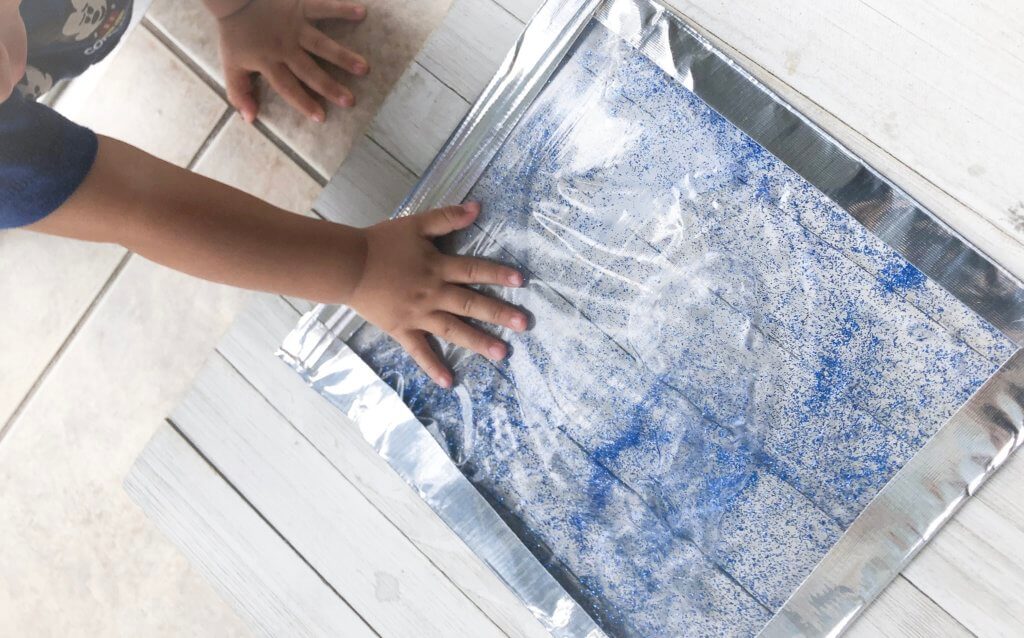
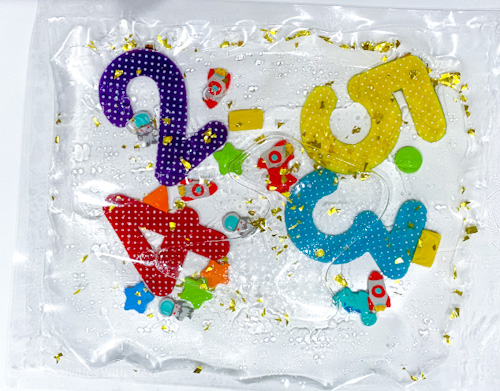
Glitter bag
Add your favorite color of glitter to bag and fill it up 1/4 with water. Duct tape all four sides to protect the water from spilling.
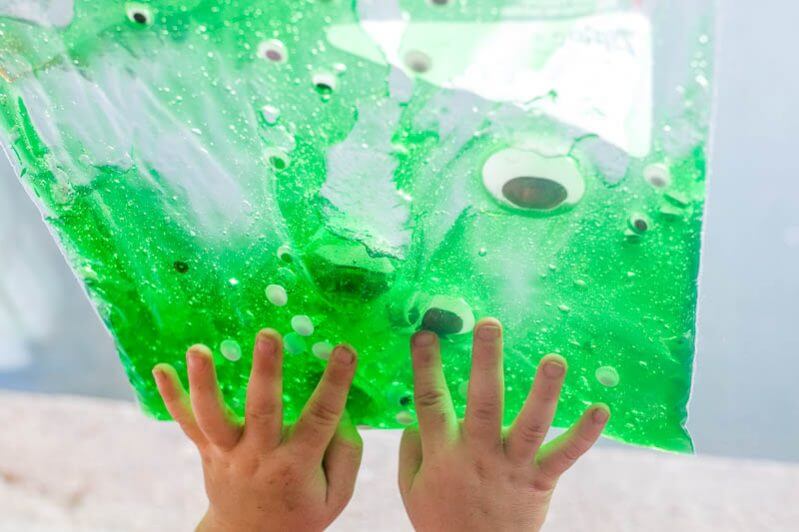
Hair Gel Sensory Bag
Using hair gel with green food coloring or green Jell-O and some googly eyes form the craft store to create a Halloween themed sensory bag.
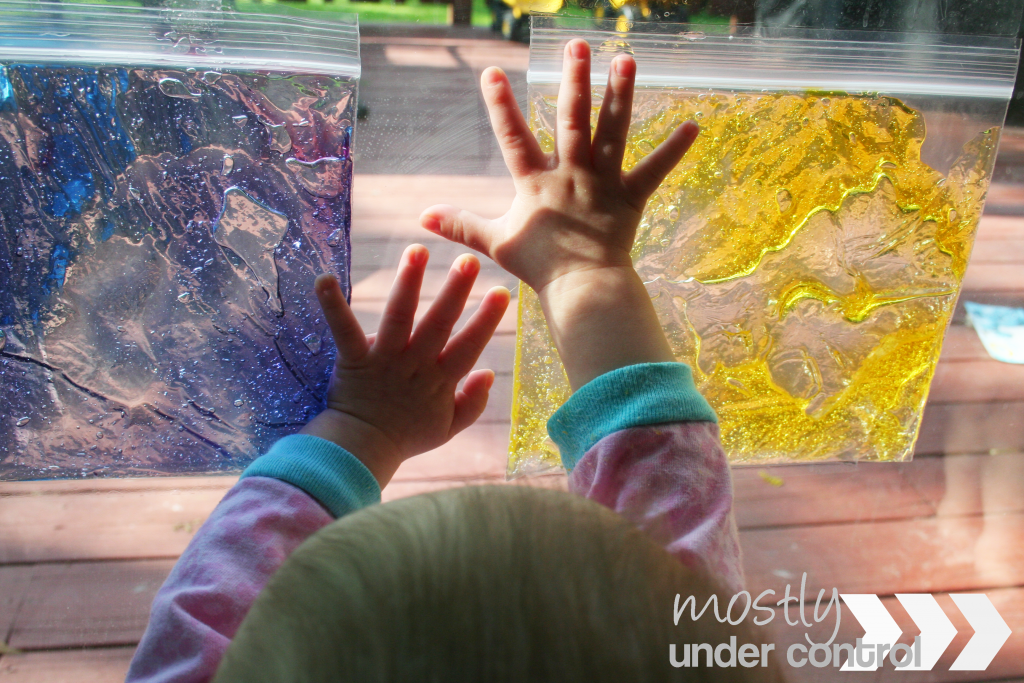
Oil and water sensory bag
Using baby oil or vegetable oil create an oils dm water sensory bag. Use 1 part oil with two parts water. Add food coloring and glitter to the water and create a calming sensory bag. Pop the bubbles, make little trails and just follow the colors around.
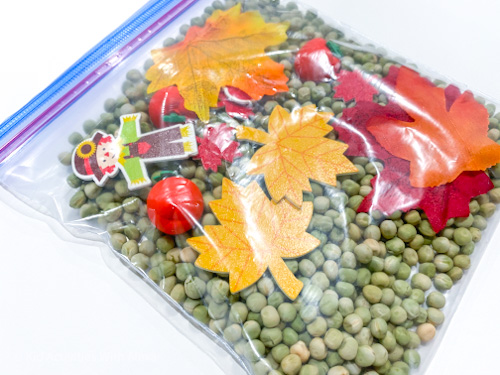
Loose parts Sensory bag
Sometimes when your little one is too little to use sensory bins you can still have fun with smaller parts. Just add them into a bag and allow them to love them around.
What you need:
- A dry filler. We used peas for this fall themed bag
- Loose items to move around. We had mini apple erasers, fall leaves and fall wooden leaves.
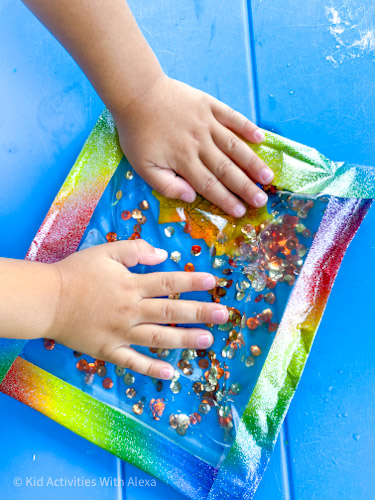
Rainbow Rice Sensory Bag
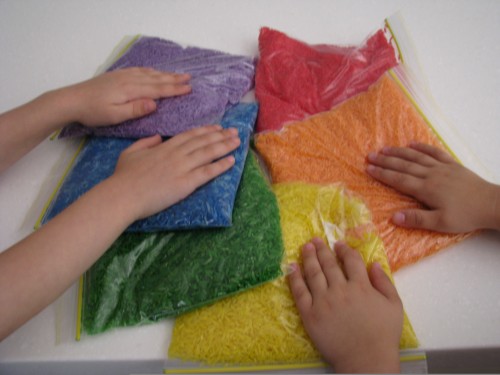
These are great for learning colors and sequences of colors and how they react with each other. Things used for rainbow sensory bags could be wet (hair gel, shaving cream, gel, cooked oats or cornstarch, etc.) or dry (corn, dyed rice, colored pebbles, colored beads, buttons, coffee beans, etc.). These develop their trust and understanding of the various textures and improve their fine and gross motor skills.
Things needed: 12 cups of rice (2 cups per bag), food coloring, Ziploc bags, and a container with a secure lid.
Steps
- Get two cups of rice and place it in a plastic container that has a secure lid
- Add a decent amount of food coloring.
- Shake up the container to color the rice thoroughly.
- Put rice into one of the Ziploc bags.
- Wash out the container and follow the same steps for another two cups of rice with a different color.
- Repeat steps till all twelve cups are exhausted, or to the number and variety of colors, you prefer.
Shaving cream sensory bags
This sensory bag activity helps infants improve their fine motor and cognitive skills as they grasp and feel the shaving cream and see the colors mix without any mess.
Materials needed: Ziploc bag (remove white label with nail varnish remover and cotton wool to make it more transparent for baby to aid in a more precise observation), color paint, shaving cream, and duct tape.
Steps
- Take your Ziploc bag and pour in at least two paint colors at separate corners of the Ziploc bag. (Here, you can use yellow and blue).
- Pour in shaving cream to fill ⅓ of the Ziploc bag.
- Ensure you remove as air as you can from the Ziploc bag and seal.
- Secure the edges with duct tape and give it to the baby to have fun.
This activity is a fascinating time for babies as they observe the colors mixing in as they squish and squeeze the sensory bag, improving their visual skills and exploring colors.
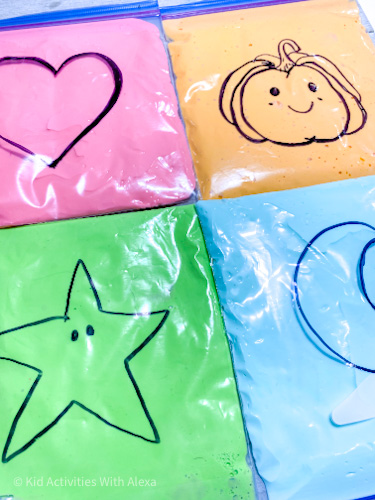
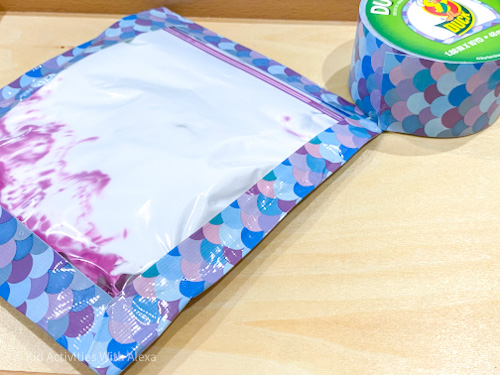
Paint Sensory Bag
Want a mess free activity? add paint into a ziplock bag and draw a design using a sharpie.
Non-Toxic sensory bags
Most of the sensory bags consist of hair gel or shampoo, shaving cream, and hand sanitizers and most infants undoubtedly had great fun with them. But with infants who love to put almost everything into their mouth, we can go along with non-toxic sensory bags with wet contents like jelly, oatmeal, or boiled cornstarch, which are very safe should they end up in their mouth.
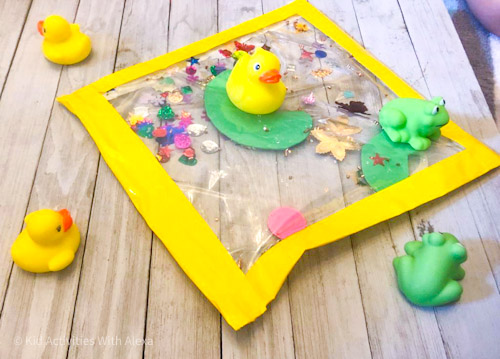
Water sensory Bag
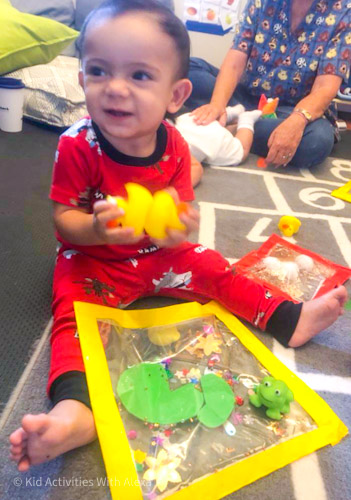
Things needed: Green foam sheet, scissors, Ziploc bag, blue food coloring, water, and duct tape.
Steps
- Get a green foam sheet and with scissors, cut out about five small Lily pads.
- Place them inside a large Ziploc bag.
- Drip in some food coloring (optional)
- Fill the Ziploc bag with water halfway and seal tightly.
- Separate the Lily pads should they be stuck together.
- Seal around the entire bag with duct tape.
- Tape it to the floor or a table (optional).
- The sensory bag is ready. You can grab your duck and ducklings and sing the ‘five little ducks song’ with your baby while the baby enjoys the pond.
Jelly Sensory bags
Things needed: Jelly of assorted colors or color of choice, Ziploc bag, toys of choice that baby loves to give attention to but are not sharp, and duct tape.
Steps
- Make the jelly according to the instructions on the package.
- Cooldown the jelly and let it set.
- Pour jelly into the Ziploc bag.
- Add toys of your choice into the jelly in the Ziploc bag.
- Remove as much air as you can from the Ziploc bag and seal.
- Tape edges with duct tape to secure the borders as the baby plays with the bag.
You can make this with assorted colors and set on the floor and see the excitement on their faces as they have fun. It engages their senses as they visit different colors and shapes and feel different textures. This activity is especially useful for babies who need to get some tummy time but are resistant to spend time on their belly.
Goo sensory bags

Things needed: 1 cup flour, 4 cups cold water, food coloring, Ziploc bag, and duct tape.
Steps
- mix water and flour.
Keep whisking for about 10 minutes till the mixture thickens and becomes gooier like hair pomade. - Pull it from the heat and set it up to cool.
- Pour goo into Ziploc bag and drop-in, food color of your choice.
- Seal and tape the edges with duct tape to make contents extra secured.
Now baby can have fun as they watch the color spread and mix-in whenever they tap, poke, and squish the sensory bag. They find this exciting as they improve on their fine motor and cognitive skills.
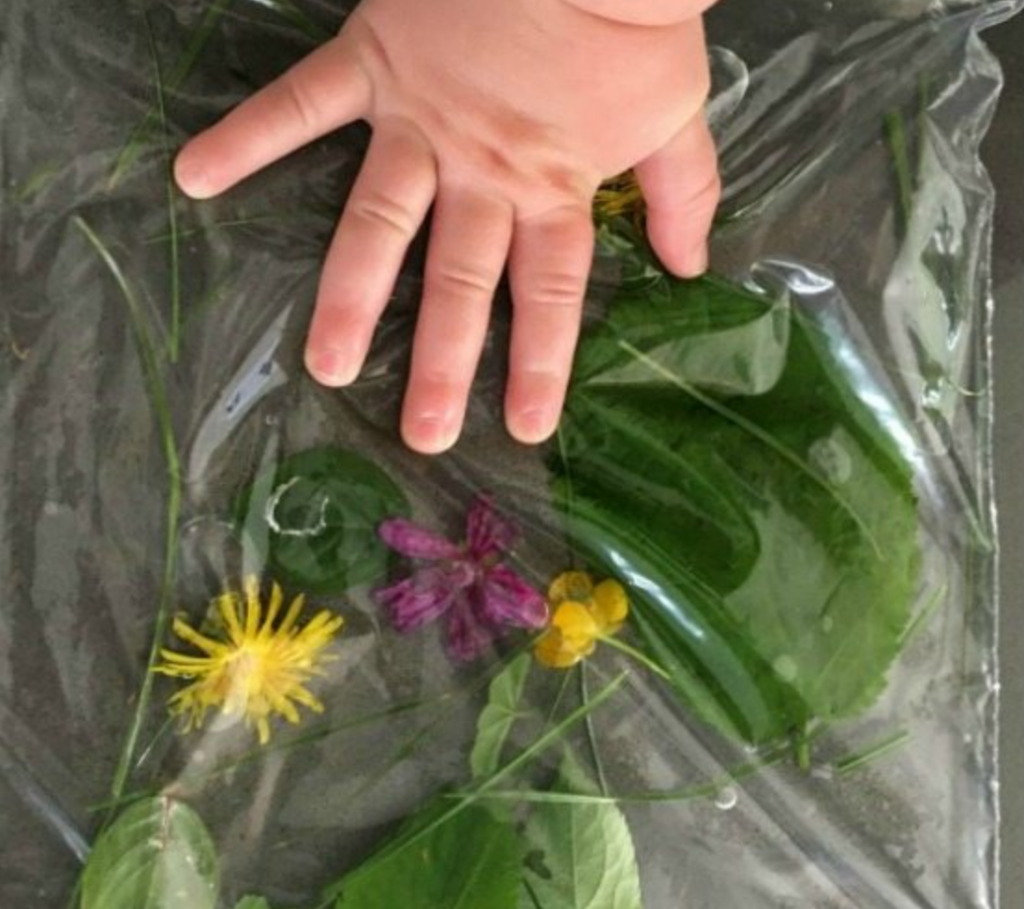
Nature Sensory Bags
Introduce your child to outdoor play without worrying about them putting dirty leaves or objects in their mouths. You can use various nature items like grass, leaves, flowers, seashells, seeds of all kinds, peas, corn, pine needles, feathers, moss, or stones
Steps
- Collect various nature items of your choice.
- Grab a Ziploc bag and fill about a third full of water or aloe vera gel.
- Add in all nature items (in this one, use grass, flowers, and leaves)
- Close the bag while removing all excess air.
- Use the duct tape on edges for extra security.
- Tape it to the table, and the baby is ready to have fun.
Sensory bags engage infants’ five senses, especially touch, as they explore, investigate, and learn through them. They are the purest sense of exploratory learning that builds up their self-esteem as children are free to express themselves.