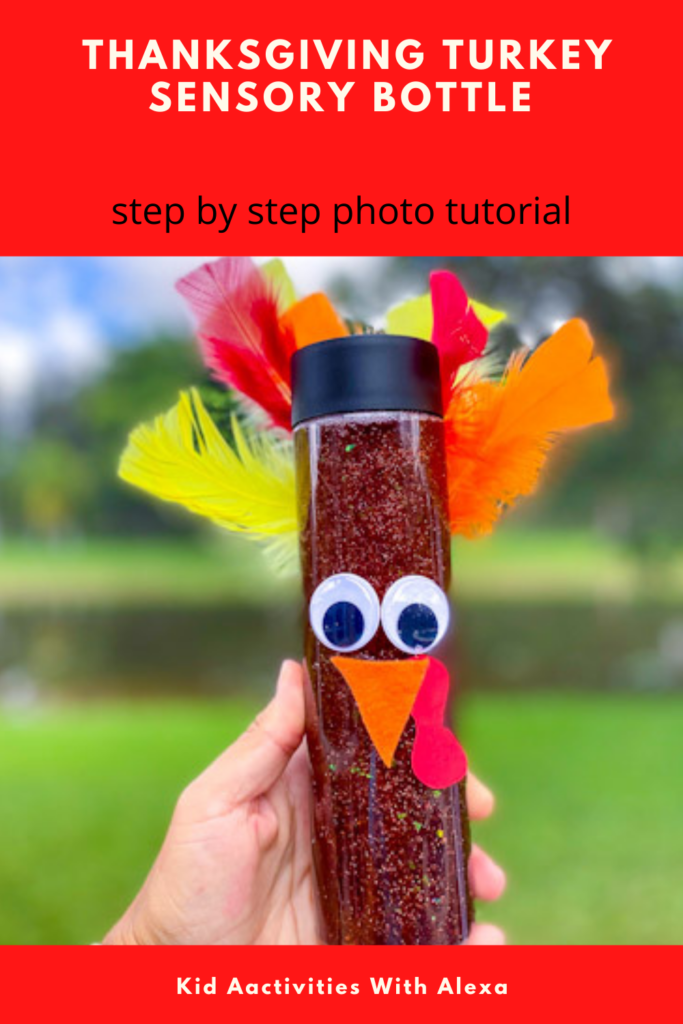
Looking for a kid’s activity to do for Thanksgiving? Celebrate family, together and being thankful with this easy to do Thanksgiving Turkey sensory bottle.
What to see the video tutorial? head over to my Instagram IGTV where I hosted a live tutorial to make this fun Turkey Sensory Bottle! WATCH TURKEY SENSORY BOTTLE TUTORIAL HERE
Supplies needed FOR turkey sensory bottle
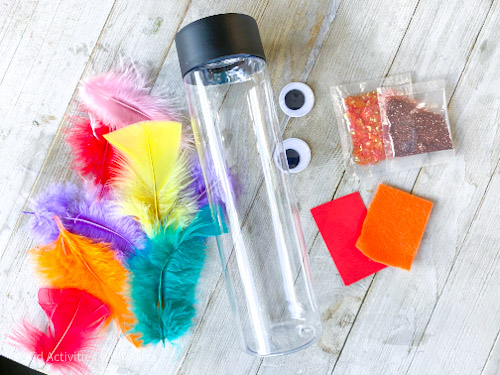
- Sensory bottle
- Clear Glue
- Brown food coloring
- Brown Glitter
- Brown/Red confetti
- Medium size googly eyes
- Red construction paper
- Orange Felt
- Hot Glue Gun
- Scissors
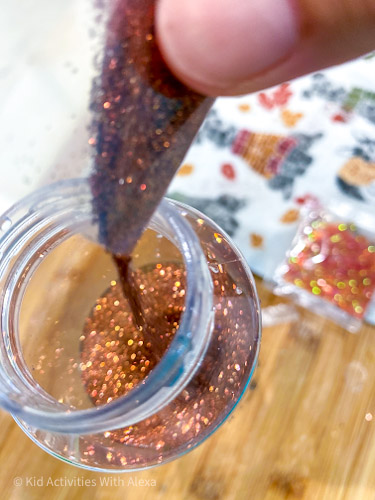
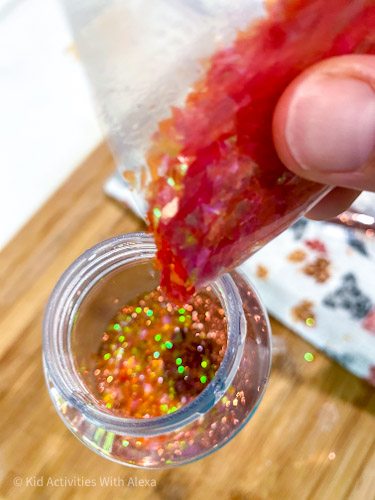
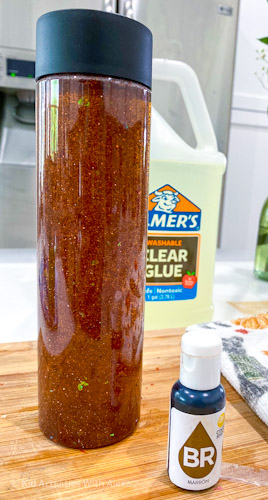
Step 1- Add WATER AND glitter
Start with filling up your bottle about 3/4 of the way with like warm water. Then add about 1 Tablespoon of glitter (about half of the small bag) and about ½ Tablespoon of confetti.
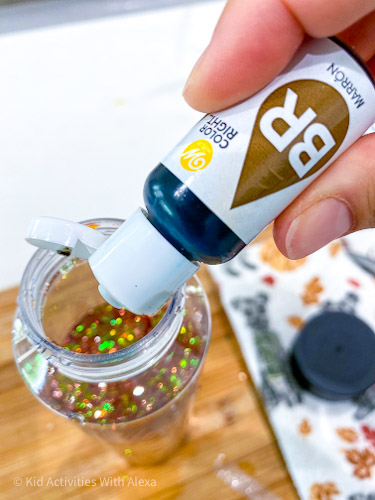
STEP 2- Add food coloring
Add a drop of food coloring. Just one. You need to make sure the water stays translucent and you are able to see the glitter through. My food coloring brand is very strong so I actually had to empty out a bit of the water and replace it with fresh water to lighten the color up.
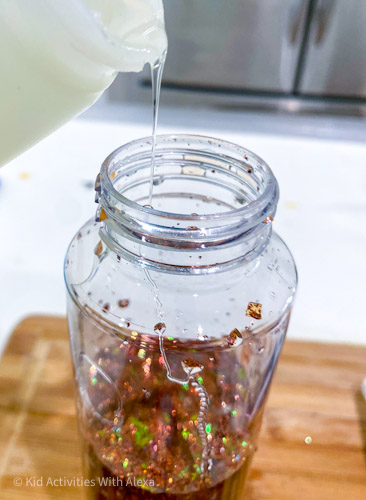
Step 3 – Add Glue
Close the bottle and make sure you like the amount of glitter and confetti you have. If you like it then open back up the bottle and add glue to the remainder of the bottle. Leaving some breathing room over the top so the liquid inside the bottle can move.
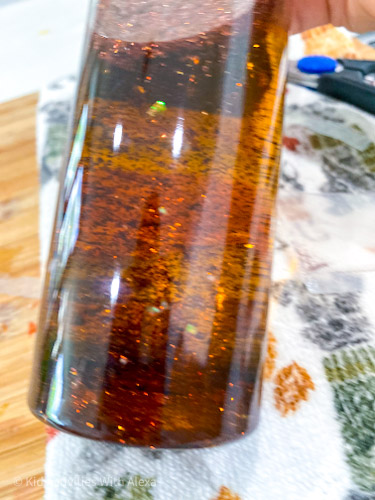
Test the speed of glitter falling
Close the bottle and give it a good shake. She how the glitter and confetti slowly falls down. If you want the glitter to fall down slower, add more clear glue.
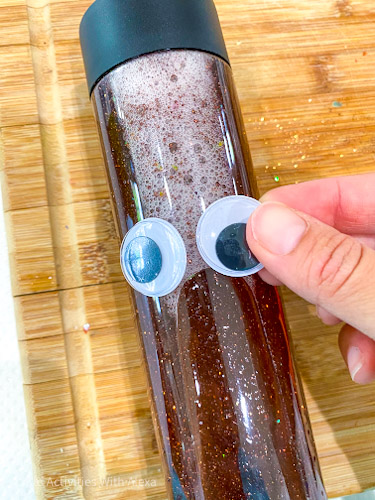
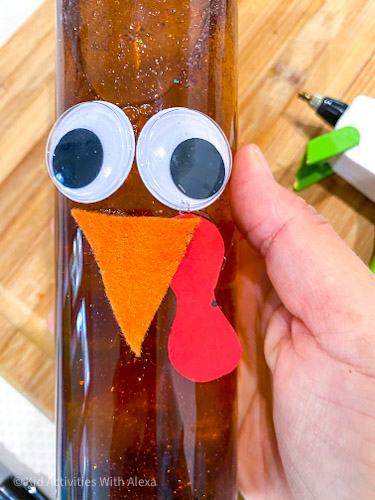
Step 4- Add eyes ans beak
Seal the bottle with super glue if you are afraid your little one will try to open the bottle.
Using the hot glue gun glue the googly eyes towards the top of the bottle.
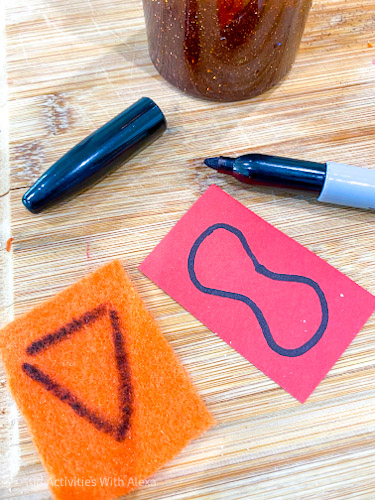
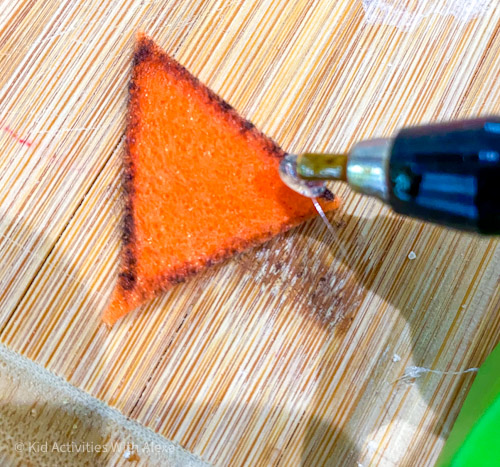
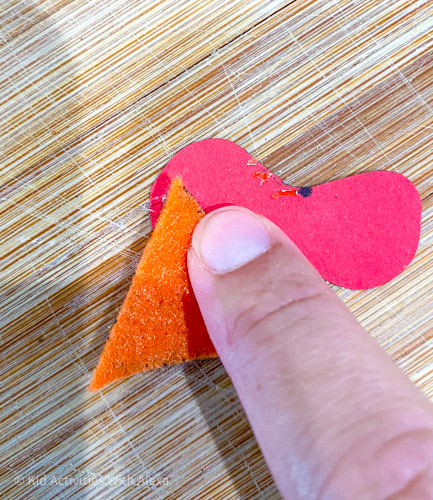
How to create the beak
Cut up a triangle using the orange felt paper. I’m using felt because I want the bottle to have a ton of different textures to provide a full sensory experience. If you don’t have felt, you can use craft foam or construction paper.
Using the red construction paper, create an eight (8) shape.
Glue the triangle to the eight shape and then both together to the bottle.

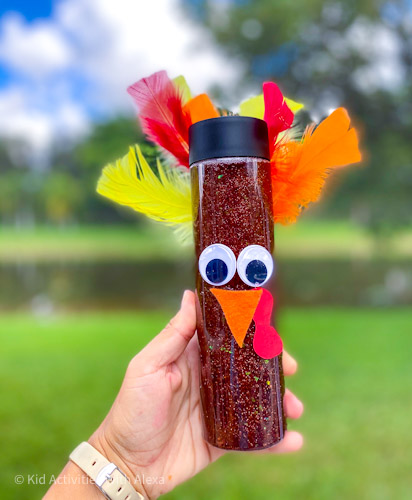
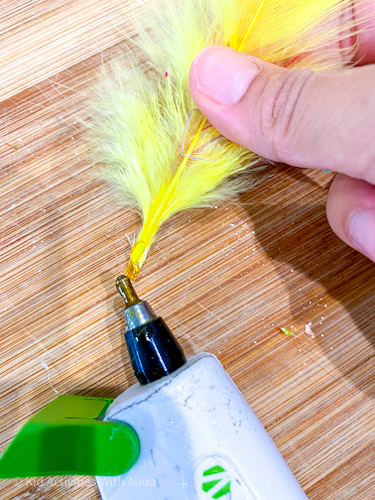
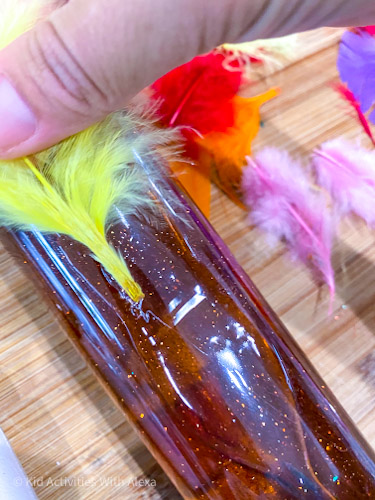
Step 5 – Add feathers
The last step is to add the feathers to the back of the bottle. I used the hot glue gun to attach them and glue them in an arch position. I chose red, orange and yellow to keep the fall colors, but you can use any colors you want.
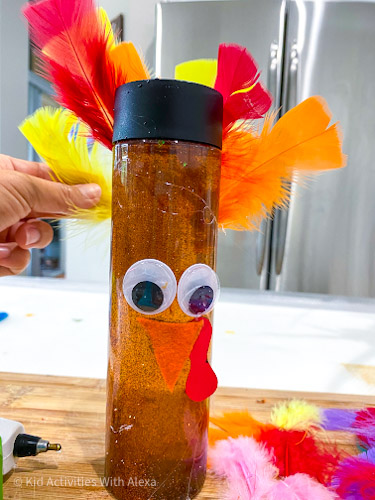
And there you have it! A cute centerpiece, an awesome sensory toy for babies and a beautiful calming bottle for toddlers and adults to enjoy.
Get tons of creative ideas to do with your kids at home! Become a PLAY MEMBER by signing up for the newsletter. Play members get seasonal activity ideas right in your inbox, a special invitation to our Mommy & Me Virtual Circle time, and access to our free library with educational printables and activities to develop your child through sensory play and reach their developmental milestones.
Like It? Love it? Please share it